Tables in Standard View
In Dreamweaver’s Standard view, you can create and manipulate tables using the well-known paradigm of rows and columns. Switch to Standard view using the Standard View button in the Objects panel or by choosing View → Table View → Standard View.
Entering Standard view simply sets the drawing mode; the next step is to insert a table using Insert → Table or the Table icon in the Objects panel’s Common category (these options are inactive while the program is in Layout view). Inserting a table opens the Insert Table dialog box, shown in Figure 3-1, where you can set the rows, columns, cell padding (the margin between a cell’s contents and its edges), cell spacing (the space between adjacent cells), table width, and border thickness. Both cell padding and cell spacing must be set explicitly to 0 to create a seamless layout within a table. If you leave these fields empty, most browsers default to 1 pixel for cell padding and 2 pixels for cell spacing.
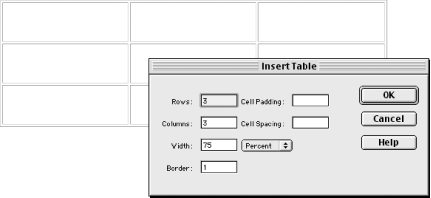
Figure 3-1. The Insert Table dialog box
Selecting Table Items in Standard View
There are several ways to select tables, cells, rows, and columns in Standard view. The following discussion applies to Standard view only. See Section 3.3 later in this chapter for details on manipulating tables in Layout view.
Selecting tables
To select an entire table in Standard view, click on the table’s upper-left corner or one of ...
Get Dreamweaver in a Nutshell now with the O’Reilly learning platform.
O’Reilly members experience books, live events, courses curated by job role, and more from O’Reilly and nearly 200 top publishers.

