Both Apple and third parties offer a number of iPhone-specific and general software development tools, which can help you better guide and oversee the development of your app. Apple’s iOS SDK, which includes its iOS development tools, requires an Intel Mac, as do the other tools detailed in the following subsections.
The iOS SDK (software development kit) is generally used only by developers. It includes their development environment, Xcode, and a number of other tools to aid in the programming side of applications. There is one application, which is part of Xcode itself, that can also be extremely useful for you and make installing the SDK worthwhile: Organizer.
By registering as an Apple Developer, you will be able to access and download the iOS SDK from the iOS Dev Center. There’s really no risk for you to try out these tools, with the costs being the time it takes to download and install the 2 GB to 3 GB iOS SDK disk image file, which includes the SDK as well as Xcode. Of course, you can kick off the download and subsequently run the installation while you busy yourself with other tasks.
Note
If you are officially enrolled in the iOS Developer Program, you’ll possibly have the option to download two different SDKs, the second of which is usually a private “beta” of what Apple has coming next. Stick with the publicly available SDK unless your app requires functionality available only in the beta version.
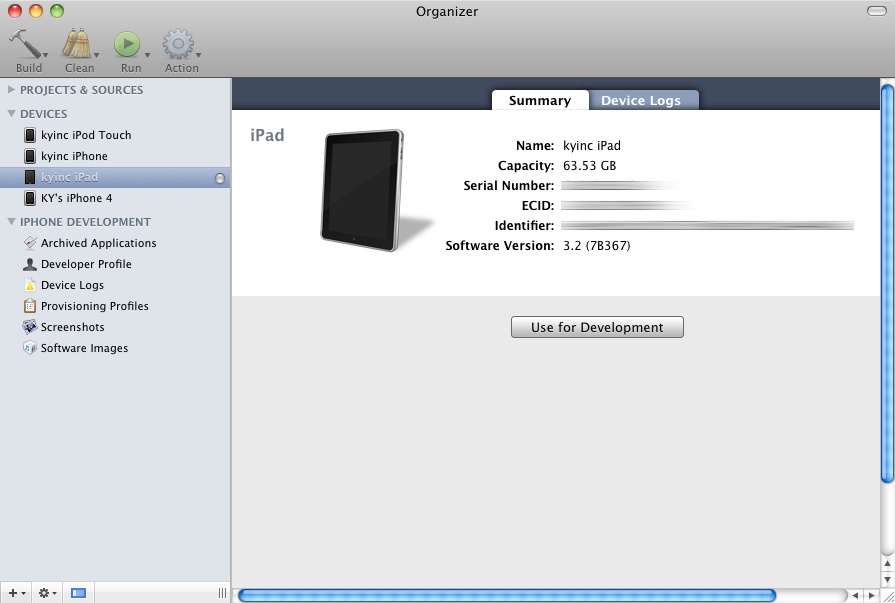
If you allow the SDK installation to use its default settings (recommended), a new top-level folder called Developer will be created on your Mac’s hard drive after installation is complete. The easiest way to access that folder is to select your hard drive under Devices in the Finder application. Inside the Developer folder, you’ll want to access Applications, which is the folder that contains the Xcode application. Open that application and you should be greeted with the first useful tool, called Organizer. If you don’t see it, it’s also available via the Windows menu item of Xcode. Organizer will let you take screenshots of anything open on a connected device and access diagnostics information such as crash logs (Figure B-2). Using these functions of Organizer is described in the Organizer section in Chapter 6.
In the Screens and Prototypes section in Chapter 5, I first mention that when testing your in-progress app, developers should be building apps onto devices instead of relying on the iPhone Simulator. As part of the Development App section in Chapter 6, I discuss the process of installing your app through iTunes or the iPhone Configuration Utility after your developer sends you the latest version. But with Xcode installed, a few other tools, and some configuration help from your developer, you too can build your app directly onto your iPod touch, iPhone, or iPad.
The benefit of you being able to do this is that it allows you to always have access to the very latest version of the app. Once developers distribute an app, they usually continue to work on it. This means that even minutes after you install your app, a bug fix or other change may be available that you won’t be able to see until your developer provides you with another version. Not only is that inefficient for you, but it’s tedious for your developer. So, by spending some time to get this environment set up properly, you’ll also make your developer more productive.
For this situation to be possible, you’ll need access to your app’s source code. Because of what we covered in Chapter 5, you should already have access to your code’s repository (see Repositories and source code in Repositories and source code). Using the latest version you pull down from the repository, you’ll open it in Xcode and build the app straight onto your device. Thus, this method makes installing your app with iTunes or the iPhone Configuration Utility obsolete.
Note
If you are already starting to feel overwhelmed, don’t feel bad if you need to depend heavily on your developer through this process. In fact, I’m purposely not going to provide all the required details because this setup can get fairly complicated and frustrating for someone with no experience.
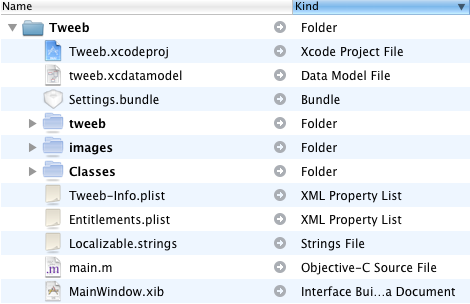
It’s simple enough to pull down the source code and open it in Xcode. You’ll be looking for an Xcode Project File (see Figure B-3) in the folder of the source code, which ends with the extension .xcodeproj. Double-clicking that file will open Xcode.
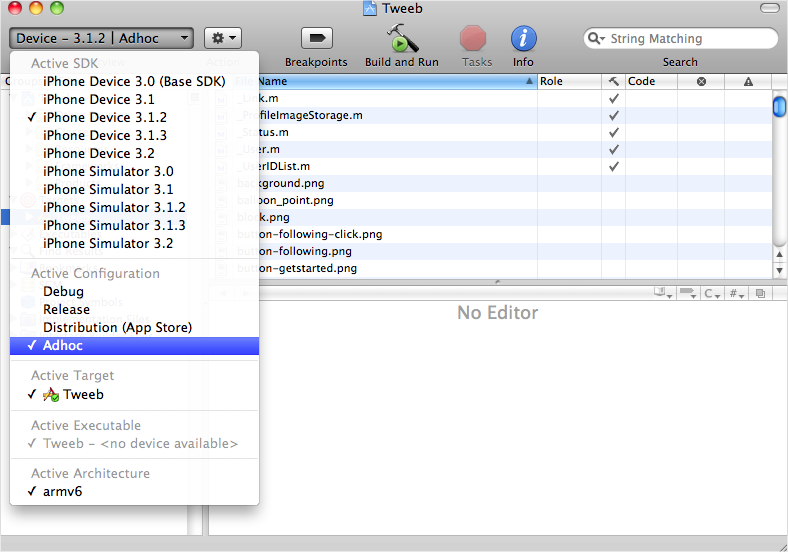
On the other side, what’s not so simple is the configuration required to actually build the application onto your device. You are going to need to rely exclusively on your developer to help you with these steps. An overview of this process includes using Keychain Access and the iOS Provisioning Portal to request and install certificates, as well as ensuring that you have the proper provisioning profile installed. After these steps are completed and you’ve verified with your developer that the settings are correct, connect your device. Choose your device from the Overview drop down and set your configuration to Adhoc. If everything is done right, by clicking Build and Run (see Figure B-4) you should be moments away from Xcode installing your app onto your device. Work with your developer until that occurs.
If you feel beaten down by this process, remember that once you have everything set up the right way, your main task is just pulling down the most recent code from your repository. You then only need to click Build and Run in Xcode with your device attached. The ongoing benefits outweigh the complications of the initial setup.
One of my greatest frustrations in the development process, and particularly in testing apps, has been dealing with screenshots. Screenshots are incredibly helpful to show both creative and functional issues, and I almost always include them when logging bugs.
Screenshots aren’t that bad when done through Organizer. You can use the Capture tool under the Screenshots tab to grab a screenshot and then drag it to your computer. But your device may not be connected to Organizer when you need to grab a screenshot of your app. In fact, if you are testing your app in live, real-world conditions, you often should not be sitting in front of your computer. In this case, the screenshots you take on the device itself—by pressing the Home and Power buttons at the same time—are stored on the device’s Camera Roll.
In this case, my preference in transfering these screenshots has been to use two third-party tools. The first is Infinite Labs’ Mover+, which operates on the iPod touch, iPhone, iPad, and Mac (http://infinite-labs.net/mover/). When the devices are on the same WiFi network, opening the app on any of them allows you to “slide” photos from one device to another. Mover+ really is the quickest way to move stuff from one device to another, and more specifically, one-off screenshots from an iOS device to a Mac (see Figure B-5).
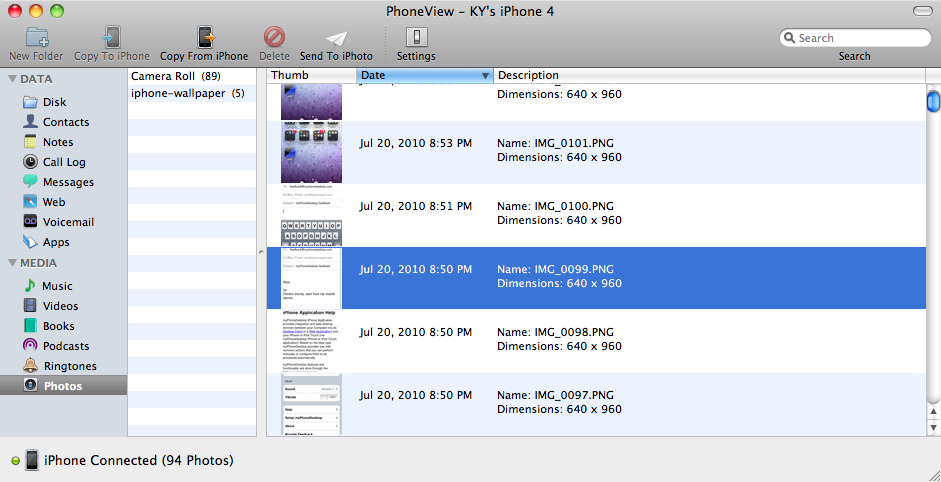
The second tool I frequently use is called PhoneView (http://www.ecamm.com/mac/phoneview/). After connecting your device and opening PhoneView, you can easily drag one or more photos to your computer (see Figure B-6). I find PhoneView to be the fastest way to get multiple photos (screenshots), which are already stored on my device, onto my machine. For one-off screenshots, I would be remiss if I didn’t mention Tapbots’ apps, Pastebot and Pastebot Sync (http://tapbots.com/software/pastebot/). You may also want to read the interview with Tapbots’ Paul Haddad and Mark Jardine at the end of Chapter 5.

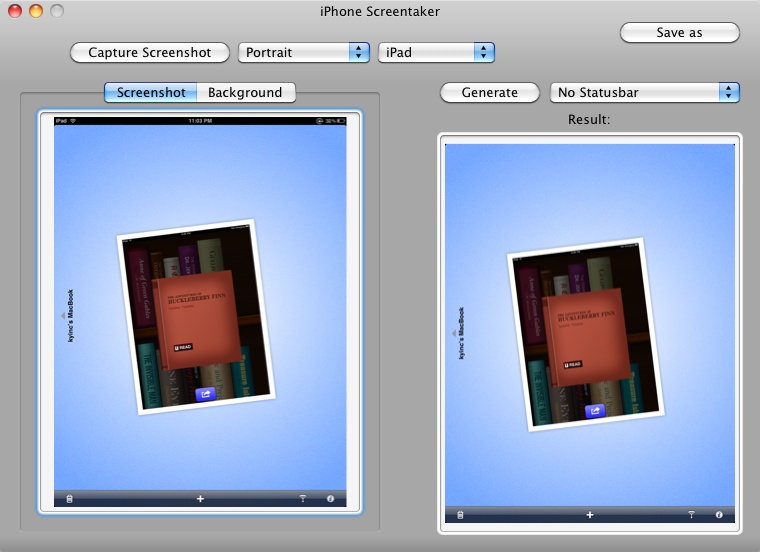
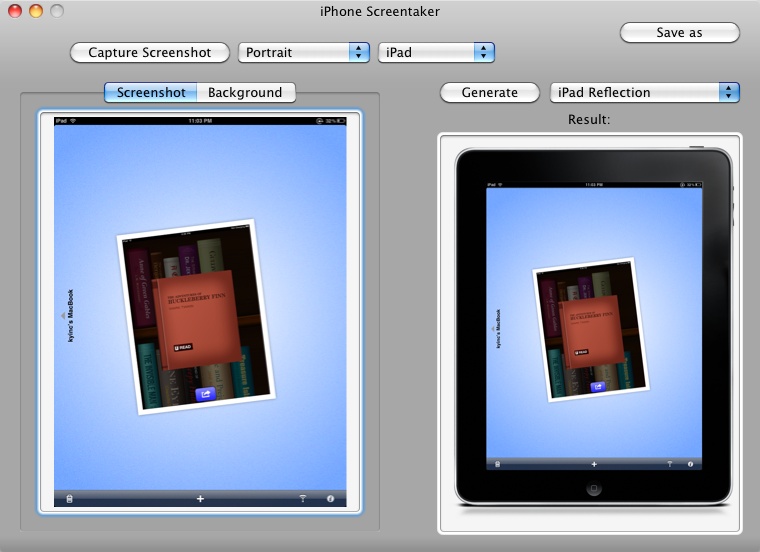
To edit screenshots, especially when preparing them for submission in iTunes Connect, check out iPhone Screentaker (http://fabian-kreiser.com/public/iPhone-Screentaker.app.zip), Acorn (http://flyingmeat.com/acorn/), or Pixelmator (http://www.pixelmator.com/). iPhone Screentaker, in particular, provides a streamlined interface, where those without image editing experience can accomplish the key tasks required for manipulating iOS screenshots (see Figure B-7 and Figure B-8).
Get App Savvy now with the O’Reilly learning platform.
O’Reilly members experience books, live events, courses curated by job role, and more from O’Reilly and nearly 200 top publishers.

