Adding Tools to the Toolbox
Tools that provide controls (such as XP Common Controls, discussed in Chapter 2) often give you design-time pieces that you can add to Visual Studio’s toolbox. Having a tool available in the toolbox lets you quickly work with it when you’re in design mode. Not all tools provide setup applications to add themselves to the toolbox, though, so you may have to perform this step yourself.
Start by adding a new tab to the toolbox. Right-click on an empty area of the toolbox and select Add Tab, as shown in Figure A-3.
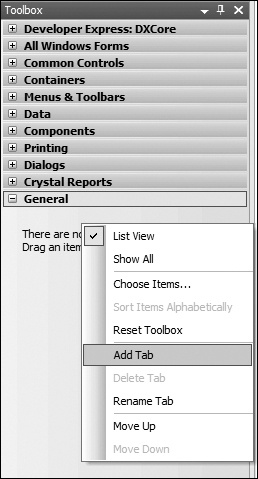
Figure A-3. Adding a new tab to hold tool controls
Name the tab appropriately, as shown in Figure A-4.
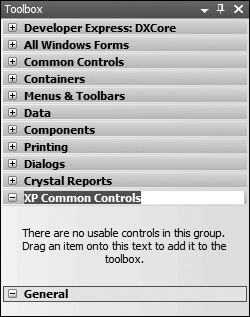
Figure A-4. Naming the new tool tab
Next, add items to the tab you just created. Right-click in the new tab and select Choose Items (Figure A-5).
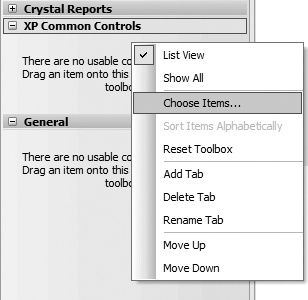
Figure A-5. Adding items to the new tab
A new dialog will appear for selecting tools to add to this tab (Figure A-6). Your desired tools won’t appear in this list, though, since Visual Studio doesn’t know about them yet.
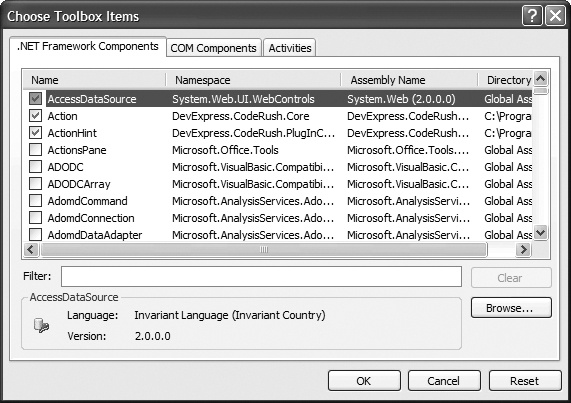
Figure A-6. Preparing to browse for new toolbox items
Click the Browse button, and a standard browse ...
Get Windows Developer Power Tools now with the O’Reilly learning platform.
O’Reilly members experience books, live events, courses curated by job role, and more from O’Reilly and nearly 200 top publishers.

