Using Media in Your Articles
Adding media is a good way to spruce up your websiteâs look. Once youâve uploaded your images and other items though the Media Manager, youâre ready to add them to your articles.
Adding an Image
Weâre now going to add an image to an article. To add images and other types of media to your articles:
Go to ContentâArticle Manager and click the name of the article where you want to add an image.
Insert your cursor in the article body where you want the image to be placed.
Click the image button in the toolbar. It looks like a small photo of a tree (refer back to Figure 13-8).
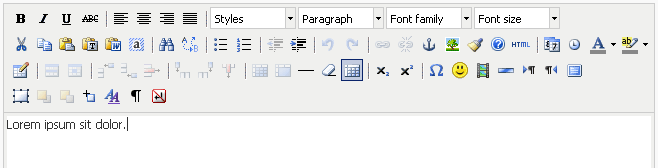
Figure 13-8. The TinyMCE Toolbar
Type in the path of the image you want to add (see Figure 13-9). A preview of your image should appear once youâve typed the complete path and image name.
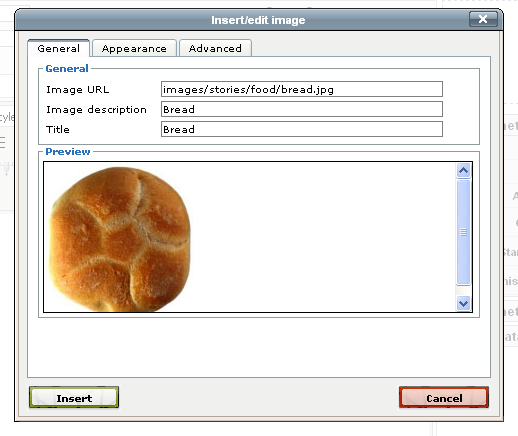
Figure 13-9. The TinyMCE image editor
Click Insert.
Click the Save button to save the article.
Your image should now appear at the location of your cursor, as shown in Figure 13-10.
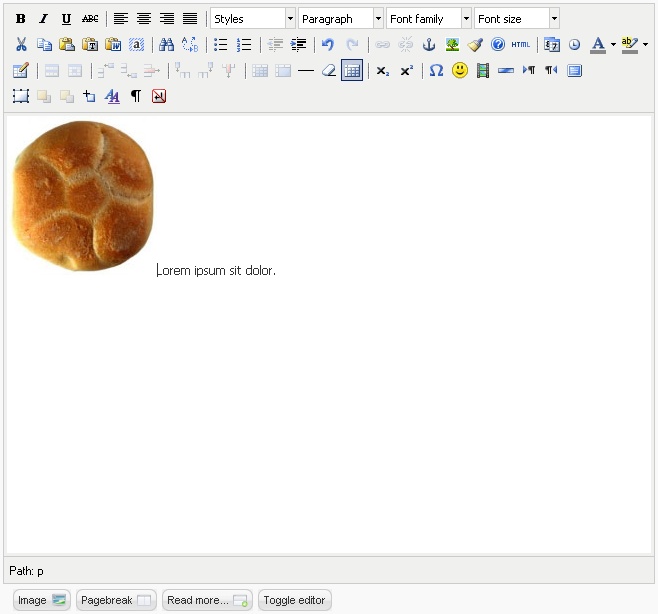
Figure 13-10. Image added to an article
Changing an Image
Make a mistake or want to update an image? To change an existing image:
Go to ContentâArticle Manager and click the name of the article where you want to change ...
Get Using Joomla now with the O’Reilly learning platform.
O’Reilly members experience books, live events, courses curated by job role, and more from O’Reilly and nearly 200 top publishers.

