Long gone are the days when Linux was considered the exclusive domain of highly technical and skilled programmers. Nowadays, we have desktops that provide easy and intuitive interfaces to all their functions, in much the same way as we now expect from any other modern OS, such as Windows or Mac OS X. Xfce, KDE, and the default Ubuntu desktop, GNOME, have been developed through many years of cooperative labor and take advantage of the most advanced graphics cards.
In particular, the GNOME environment of Ubuntu 10.04 represents the leading edge of Linux desktops, and this chapter will help you to thoroughly familiarize yourself with how it works and what it has to offer.
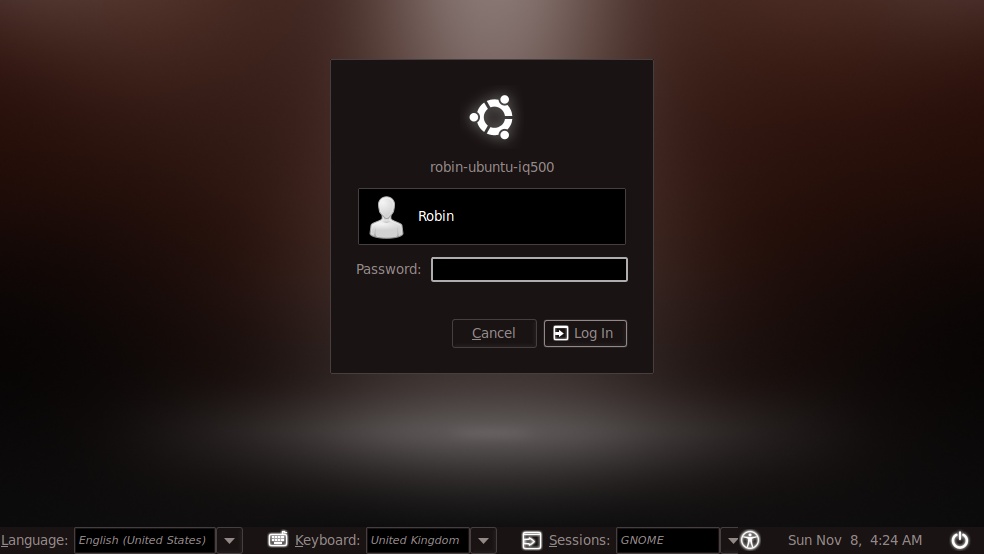
You may wonder why thereâs a whole section on logging in. Well, itâs because you can do more than just log in at this screen, as you can see from Figure 4-1. Iâve set up my system so the login screen already shows the user Robin and is waiting for a password to be entered. But at the bottom of the screen are a number of options you can use to modify your login session. So,s before getting on with the logging in itself, letâs look at them in turn.
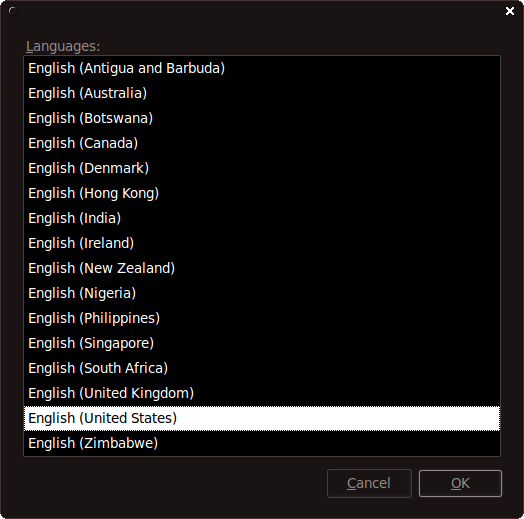
By clicking the Language drop-down menu at the bottom left of the screen (displaying the country United States in the screen grab,) you can change the language you will be using, which is useful if you need to work in more than one language. For example, Canadians might need to use both English and French, or Belgians might need to switch between Flemish and French, and so on. Or, as shown in Figure 4-2, you may simply wish to have a variety of different versions of English available to you.
By default, all supported variations of the installed language(s) are offered for selection. To obtain access to additional languages, you first select System â Administration â Language Support from the Ubuntu Desktop, and then click Install / Remove Languages, as shown in Figure 4-3. The first time you do so, you may be informed that language support is not completely installed and may have to click the Install button.
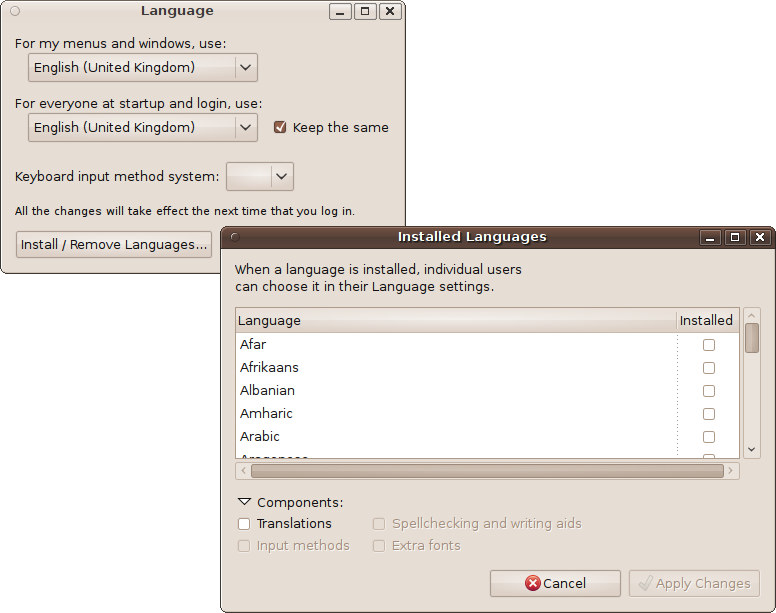
Make sure you check the boxes for the translations and/or writing aids you need before clicking Apply Changes. You will also most likely need to follow the instructions provided in the section Layouts for installing new keyboard layouts.
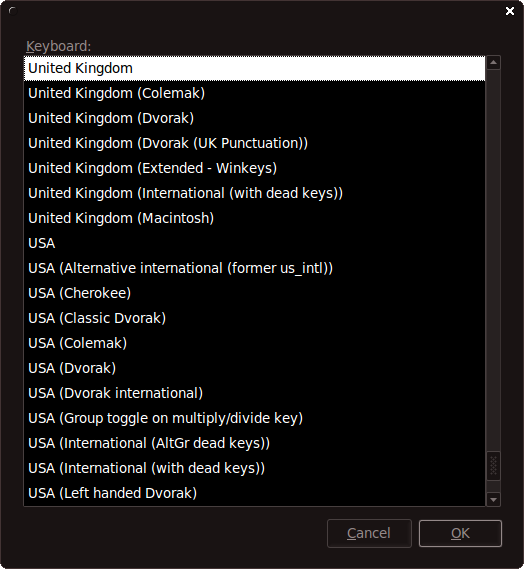
If you change the language, you can also change your keyboard layout to match it by clicking the Keyboard drop-down menu and choosing the layout you need, as shown by Figure 4-4. If, when using Ubuntu, you press a key and an unexpected character appears on the screen, you can probably fix the problem right there: you just have to figure out which keyboard matches your language and make the change. Once you have chosen the right one, click OK to continue.
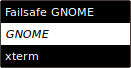
This option lets you choose the type of desktop to open (see Figure 4-5). By default, it will be the GNOME desktop, but later on, in Chapter 15, Iâll show how you can add the KDE or Xfce desktop environments to Ubuntu. And if you do, they will also be listed here as selectable sessions, alongside GNOME.
There is also the Failsafe GNOME option that you can choose if you have display problems when using the regular GNOME desktop. The other option available here is xterm, which opens up a Terminal instead of the Ubuntu desktop. This is useful for situations when the desktop seems to crash or wonât even open, perhaps because of changing a graphic driver. With it, you can use text commands to fix the problem. But generally you will not need to use it.
If you need it, the Accessibility menu (or as Ubuntu calls it, Universal Access Preferences) can be called up by clicking the icon of a person with his arms and legs extended. You can then enable any or all of the following options:
Use onscreen keyboard
Use screen reader
Use screen magnifier
Enhance contrast in colors
Make text larger and easier to read
Use sticky keys
Use bounce keys
Use slow keys
Chapter 3 describes the last three items in the list.
Get Ubuntu: Up and Running now with the O’Reilly learning platform.
O’Reilly members experience books, live events, courses curated by job role, and more from O’Reilly and nearly 200 top publishers.

