Creating a Data List
Now that you've laid the foundation, you can create the data-entry list itself. To create the list, follow these steps:
From the SharePoint site, choose Create â Lists â Custom List. SharePoint displays the New List page.
Name the list
Expenses, select No in the Navigation section, and then click Create. SharePoint creates a new, single-column list.Choose "Modify settings and columns" to add columns to the list. SharePoint displays the Customize page.
In the Columns section, choose "Add a new column". SharePoint displays the screen shown in Figure 6-4.
Enter the information for the Date column. Then, using the settings listed in Table 6-1, repeat step 4 for each of the columns.
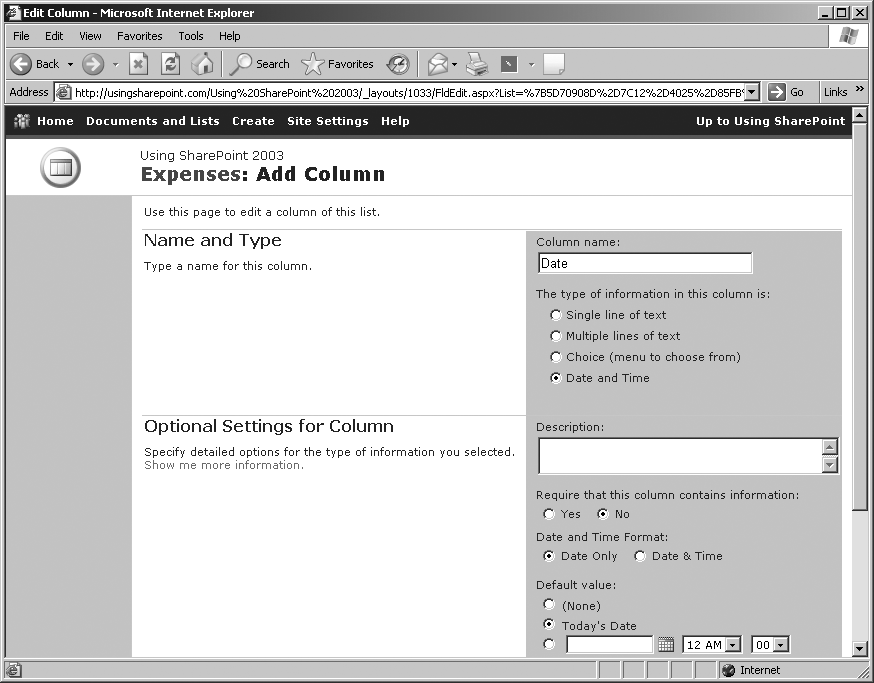
Figure 6-4. Adding columns to the list
Table 6-1. Data list column settings
Name | Column type | Required? | Default value | Other settings |
|---|---|---|---|---|
Date | Date/Time | No | Today's date | Â |
Type | Lookup | Yes | Â | Get information from: In this column:
|
Price | Currency | Yes | Â | Â |
Taxable? | Yes/No | N/A | Yes | Â |
Total | Calculated | N/A | Â | Formula:
|
Note
The sales tax rate in Florida is 6%. Change the .06 in Table 6-1 to your state's tax rate.
When you're done, display the list and add a test entry to make sure it works as expected. To do this, follow the steps below:
Choose New Item. SharePoint displays the New Item page for the list. You should see fields for all of the columns except Total, which is ...
Get SharePoint Office Pocket Guide now with the O’Reilly learning platform.
O’Reilly members experience books, live events, courses curated by job role, and more from O’Reilly and nearly 200 top publishers.

