Workshop 7.2: Maximizing Project Reporting with Web Parts
In this workshop, you will add web parts to the PMIS home page, and you will use web parts to create a project dashboard for the case study project. The project dashboard will provide a graphical display of the baseline and actual schedule of project milestones.
For fields and settings that aren’t mentioned in the workshop steps, accept the default settings.
Part 1: Updating Web Parts on Your PMIS Home Page
In this part, you will add web parts on your PMIS home page. Here are the steps:
Access your PMIS.
From the home page, click Site Actions→Edit Page.
In the Right section, click “Add a Web Part” (Figure 7-21).
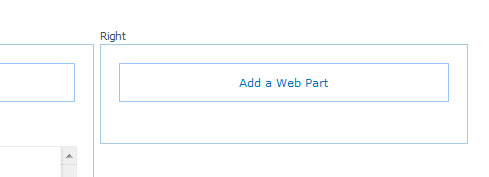
Figure 7-21. Adding a web part
In the Add Web Parts page, in the “Lists and Libraries” category, select the Project Tasks web part. (Figure 7-22).
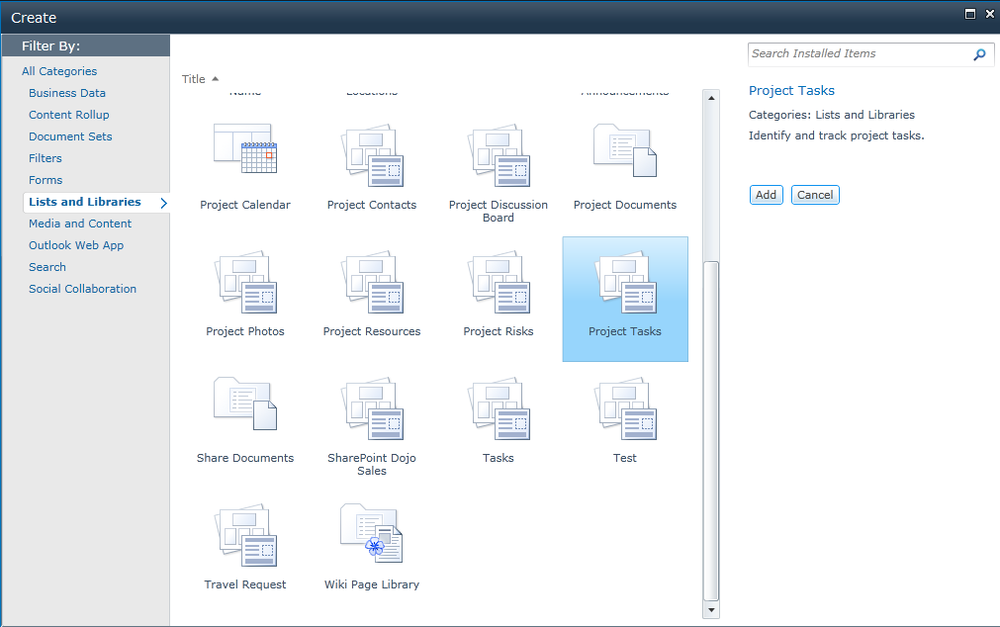
Figure 7-22. Selecting a web part to add
Click Add.
In the Project Tasks web part, hover over Project Tasks to access the drop-down menu. In that menu, click Edit Web Part (see Figure 7-23).
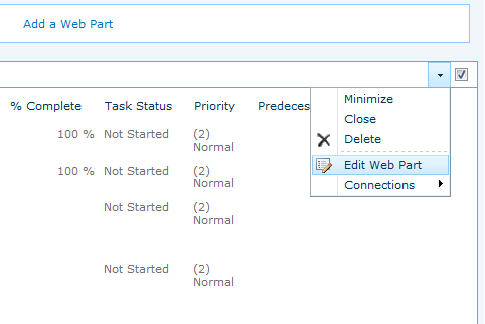
Figure 7-23. Editing a web part
In the Web Part tool pane, under List Views, open the Selected View drop-down menu and select My Tasks (Figure 7-24). Depending on the layout of your page and the size ...
Get SharePoint 2010 for Project Management, 2nd Edition now with the O’Reilly learning platform.
O’Reilly members experience books, live events, courses curated by job role, and more from O’Reilly and nearly 200 top publishers.

