Architecture Photo Placement

Inserting a rendered building into a photo is an excellent method for creating a realistic graphic. To implement this technique, you’ll need a photo or photos of the site or area where the building is to be placed.

1. Start with the destination image into which the rendered building will be edited (Fig. 32.10).
2. Render the building without any site context, backdrops, or backgrounds. Set the lighting to match the direction and shadows of the image into which the building will be inserted (Fig. 32.11).
3. Make sure the camera view matches, as best possible, the angle and perspective of the image in which the building will be placed.
4. Insert the cut-out building into the context (site) photo (Fig. 32.12).
5. In Photoshop, mask and cut out the building render (Fig. 32.13).
6. Use the Transform and Distort tool and fit the Building into the photo. Erase/hide parts of the building to allow site objects and terrain to appear in front and/or behind (Fig. 32.14).
7. Adjust the building layer color and levels to match the photo and vice versa.

Fig. 32.10: The destination image is a panoramic of the hills in Kauai, the proposed house’s location.

c32f010.tif

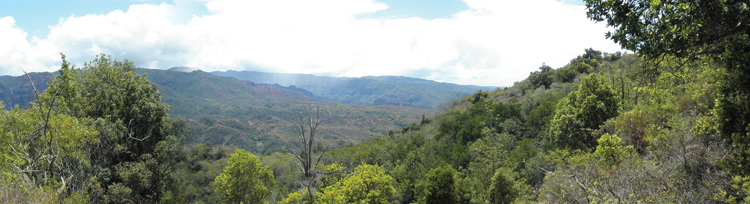
Fig. 32.11: The house is rendered in SketchUp (using Twilight Render in this instance). Only the building needs to be rendered. No site context or details are needed.

Fig. 32.12: The building rendering ...

Get Rendering in SketchUp: From Modeling to Presentation for Architecture, Landscape Architecture and Interior Design now with the O’Reilly learning platform.

O’Reilly members experience books, live events, courses curated by job role, and more from O’Reilly and nearly 200 top publishers.