Apply Texture Values
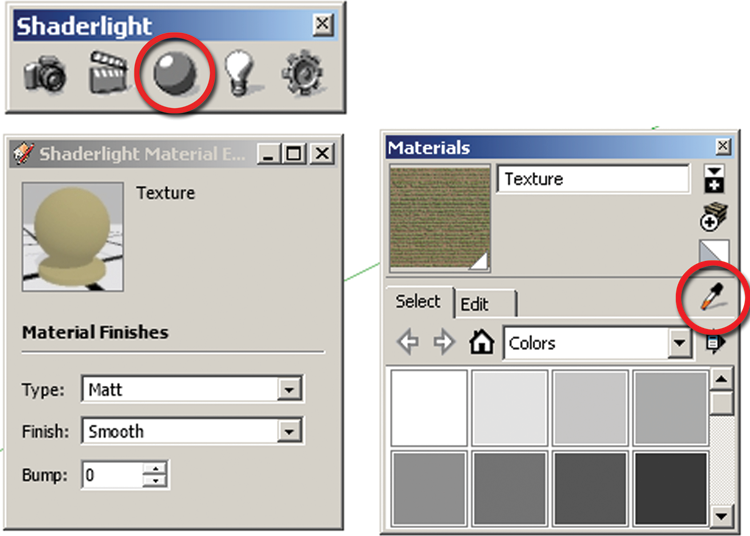
Values are applied to textures using the Shaderlight Material menu. Materials are picked with the SketchUp Paint Bucket Eye Dropper (Fig. 27.1). The chosen textures will appear in a preview window at the top left of the Material menu. Once a preset is applied, the Texture preview will update, displaying how the texture will appear once rendered. An applied value affects all versions of a texture.
Fig. 27.1: The Material Menu button is circled in the Shaderlight main menu (at top). On the left is the Shaderlight Material menu; the SketchUp Paint Bucket is on the right. The SketchUp Eye Dropper is used to select materials that are then made active in the Shaderlight Material menu.
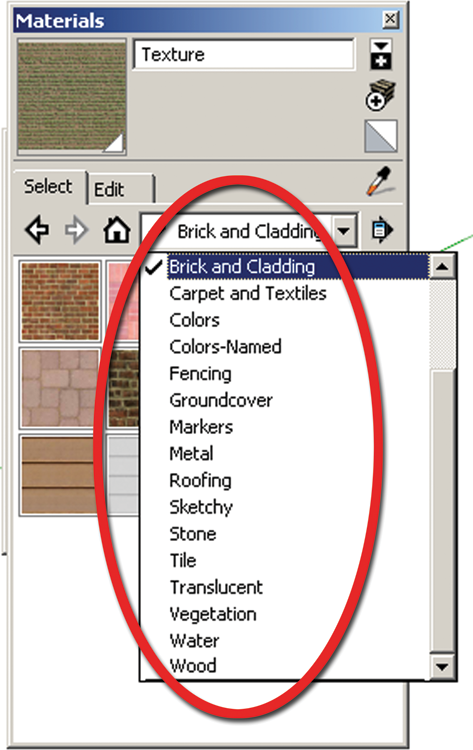
Shaderlight had preprogrammed values for native SketchUp textures. These materials come preloaded into the SketchUp Paint Bucket (Fig. 27.2). SketchUp native textures have prearranged rendering values. They do not need to be adjusted, and no additional values need to be applied. Simply apply them to surfaces and render (Fig. 27.3)
Fig. 27.2: SketchUp native textures in the SketchUp Paint Bucket
Using the native textures is an excellent way to create quick renderings. The native materials will still need to be scaled for best appearance. The SketchUp Material menu can be used to adjust ...
Get Rendering in SketchUp: From Modeling to Presentation for Architecture, Landscape Architecture and Interior Design now with the O’Reilly learning platform.
O’Reilly members experience books, live events, courses curated by job role, and more from O’Reilly and nearly 200 top publishers.

