Chapter 4. Checkbook on a Computer
In This Chapter
Recording checks, deposits, and transfers
Splitting categories
Deleting and voiding your transactions
Understanding the register phenomenon
Discovering Quicken's calculators and calendars
Attaching an image, a flag, or a note to a transaction
This is it. The big time. You're finally going to do those everyday Quicken things: entering checks, deposits, and transfers. Along the way, you also use some of the neat tools that Quicken provides for making these tasks easier, more precise, and faster.
Getting Started
Okay. I'm going to start at the very beginning.
As you start working with Quicken, you probably want to work from the Banking tab (shown in Figure 4-1). Basically, it looks and works (sort of) like a Web page that provides clickable hyperlinks to some of the most popular banking and bookkeeping features of Quicken and supplies interesting tidbits of financial trivia.
Tip
If you don't see the Banking tab, or window, you can click the Banking hyperlink, which appears at the left edge in the Quicken window in the Accounts bar.
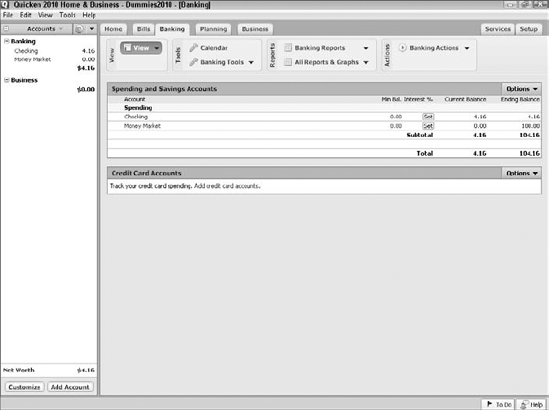
Figure 4-1. The Banking tab, or window.
Finding Your Checkbook
To enter checkbook transactions, use the Transactions tab in the Checking window (shown in Figure 4-2). If you can see the bank account you want to work with listed in the Accounts bar, you can click it to display that account's Transactions tab. The Transactions ...
Get Quicken® 2010 For Dummies® now with the O’Reilly learning platform.
O’Reilly members experience books, live events, courses curated by job role, and more from O’Reilly and nearly 200 top publishers.

