Step 1: Request Login with OpenID Identifier
At the first stage, we will focus on the initial steps that the user and relaying party need to take in order to begin the authentication process. Essentially, we need to pick an OpenID provider that we would like to authenticate with and ensure that it has a valid OpenID provider identifier. This process is illustrated in Figure 11-1.
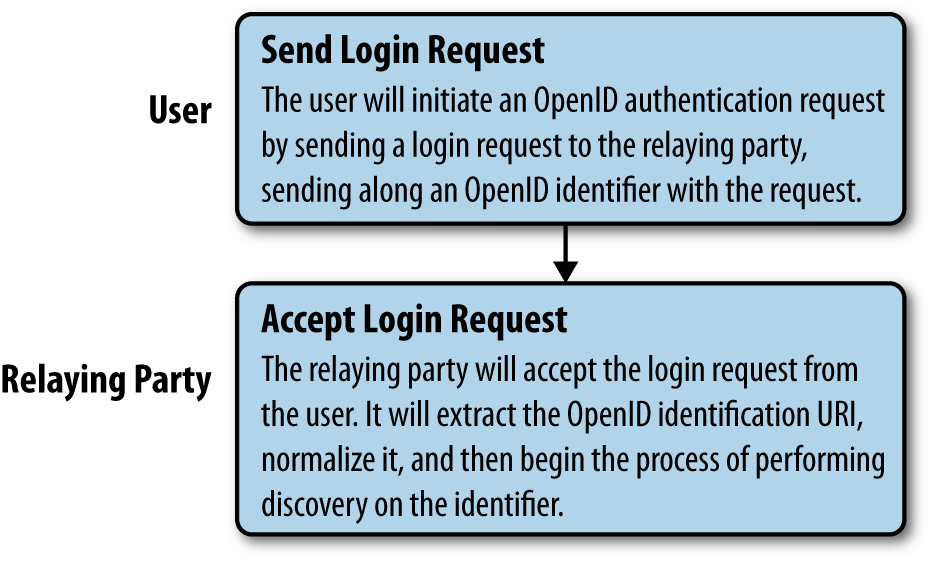
Figure 11-1. OpenID, step 1: User requests login with an OpenID identifier
First, the user will provide the relaying party with the OpenID identifier that she wants to use for authentication. This does not necessarily need to be the exact string URL for the provider; the relaying party should ideally offer the user a list with some visible identifiers, such as logos or links, from which the user can choose an OpenID provider.
Note
Making the initial choice as easy as possible for a user (such as through the use of a logo) will help to increase the sign-in rate on your site or service.
Once the user has selected an OpenID provider, the relaying party will begin performing discovery of the OpenID identifier URL. Before we do this, we need to normalize the supplied URL to ensure that discovery occurs correctly—that is, we need to transform the provided identifier into a canonical URL so that we can determine whether it matches the selected provider.
Once we complete the URL normalization process, we can move on to ...
Get Programming Social Applications now with the O’Reilly learning platform.
O’Reilly members experience books, live events, courses curated by job role, and more from O’Reilly and nearly 200 top publishers.

