Draw in Excel
To use Excel’s drawing tools:
Choose View → Toolbars → Drawing. Excel displays the Drawing toolbar (Figure 18-1).
Select the toolbar button for the object you want to draw, then click and drag on the worksheet or chart to draw the item.
Figure 18-1 shows a line, oval, rectangle, callout, and an image drawn on a worksheet. All shapes can be moved or resized by selecting and dragging their sizing handles. Shapes also provide a handle at the top that lets you rotate them. Autoshapes include an adjustment handle that is used to change some special aspect of the shape, as shown in Figure 18-2.
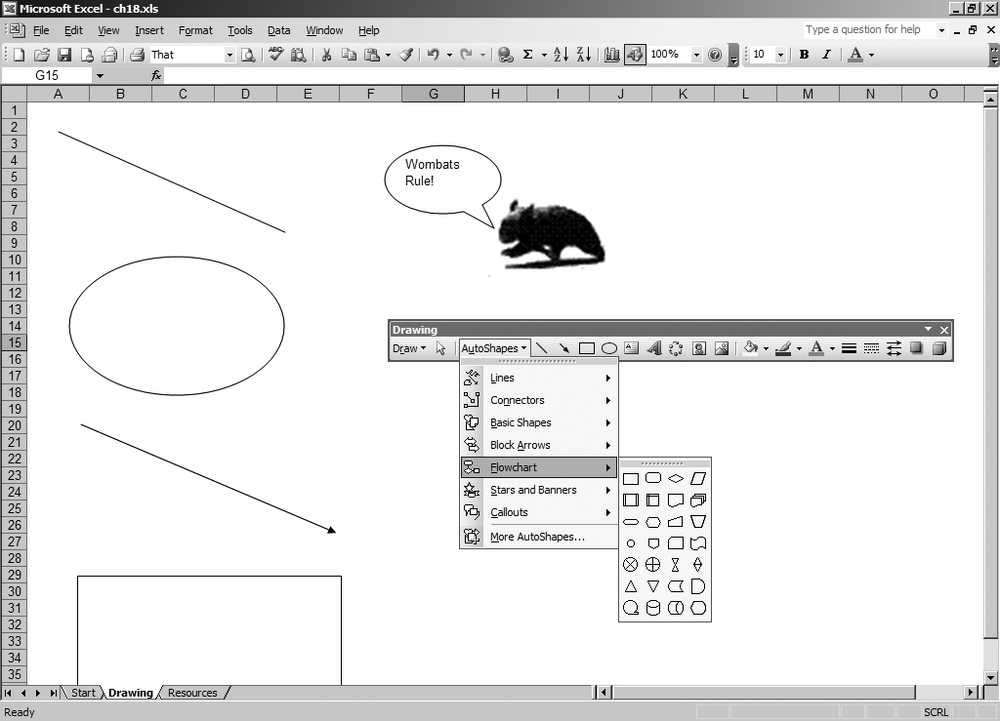
Figure 18-1. Excel’s drawing tools
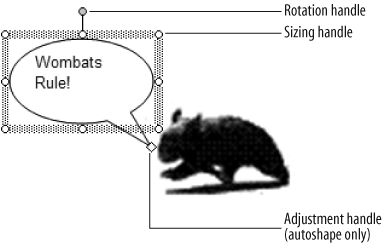
Figure 18-2. Sizing, rotation, and adjustment handles on a selected autoshape
What the adjustment handle does depends on the autoshape. For the Callout autoshape in Figure 18-2, the adjustment handle moves the apparent source of the callout. For Connector autoshapes, it sets the source and destination objects to connect. For most other autoshapes, the adjustment handle changes the aspect ratio between parts of the shape.
Get Programming Excel with VBA and .NET now with the O’Reilly learning platform.
O’Reilly members experience books, live events, courses curated by job role, and more from O’Reilly and nearly 200 top publishers.

