The Organizer
The Organizer is where you keep track of your photos and start most of your projects for sharing your photos. You can see thumbnails of all your photos in the Organizer, assign keywords (called tags) to make it easier to find the pictures you want, and search for your photos in lots of different ways.
There are three main windows in the Organizer. Create is where you make calendars, greeting cards, album pages, and other fun stuff. (The various Create projects are covered in Chapters 14, 15 through 16.) Date View is an alternate way to look at and search for your photos, as explained in Figure 2-7. The Photo Browser is the most versatile of the three and your main Organizer workspaceâthat's what the rest of this section is about.
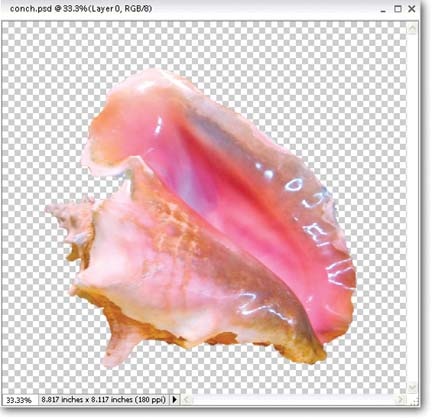
Figure 2-6. The checkered background is Elements' way of indicating that an area is transparent. (It doesn't mean you've somehow selected a patterned background.) If you place this photo into another image, all you'll see is the shell itself, not the checkerboard or the rectangular outline of the photo. If you don't like the size and color of the grid, you can adjust them in Edit â Preferences â Transparency.
Tip
If you want to explore the Organizer in depth, check out Michael Slater's books, Organize Your Photos with Adobe Photoshop Elements (Adobe Press), and his Web site, www.photofanatic.com. Michael is the developer of the program that ...
Get Photoshop Elements 4: The Missing Manual now with the O’Reilly learning platform.
O’Reilly members experience books, live events, courses curated by job role, and more from O’Reilly and nearly 200 top publishers.

