Chapter 18. Adding a Mac User Interface
In This Chapter
Painlessly putting a user interface on the model
Using Interface Builder to create a user interface
Adding controls to the view
Creating a view controller
Running the application on the Mac
In this chapter, I keep the second part of the promise I've been talking about since Chapter 11 — if you create the right class structure, putting on a user interface will be easy.
Now that you have seen how easy it is to take your "model" and add an iPhone user interface, I'll show you how to do the same thing for the Mac OS. While the basic idea is the same, there are a few differences in detail that I'll explain.
Creating Your Project
As with the iPhone you will be working in an Xcode project.
Launch Xcode if it is not already running.
Choose File

In the New Project window (see Figure 18-1), click Application under the iPhone OS heading.
Just as before, when you select a template, a brief description of the template is displayed underneath the main pane. As you know, each of these choices is actually a template that generates some code. In the past, when you were using the Foundation Command Line Tool, that code was minimal. Now, however, you are going to see a lot more.
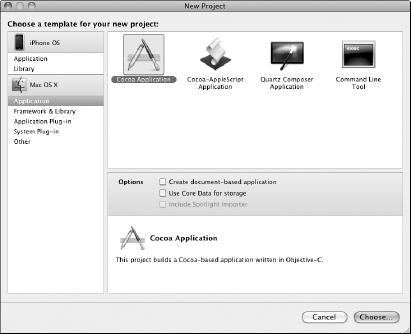
Figure 18.1. The New Project assistant.
Select View-Based Application from the choices ...
Get Objective-C® For Dummies® now with the O’Reilly learning platform.
O’Reilly members experience books, live events, courses curated by job role, and more from O’Reilly and nearly 200 top publishers.

