End Fill
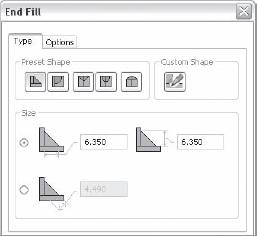
In the Symbols panel, you will see the End Fill tool, which is used to represent seam weld end fills and the gap/groove process shape (concave and convex). Clicking the End Fill tool brings up the End Fill dialog box, shown in Figure 10.42. Note that you can create any weld process shape that is desired in drawings without generating the specified weld in the model.
FIGURE 10.42: End Fill dialog box
To create a seam weld process shape, follow these steps:
- Click the End Fill icon on the Symbols panel of the Annotate tab.
- Select the preset shape—for example, Seam Weld.
- Select two points that represent the shape's arc chord length to create ...
Get Mastering Autodesk® Inventor® 2012 and Autodesk® Inventor LT™ 2012 now with the O’Reilly learning platform.
O’Reilly members experience books, live events, courses curated by job role, and more from O’Reilly and nearly 200 top publishers.

