Applying an HLSL Effect in C#
In this section, we'll be using the source code for the textured rectangle project from Chapter 9. You might remember this project as the one that created the cool rectangle with a tree image texture. Running the project will result in the familiar tree rectangle that you saw back when you first started the 3D section (see Figure 13-2).
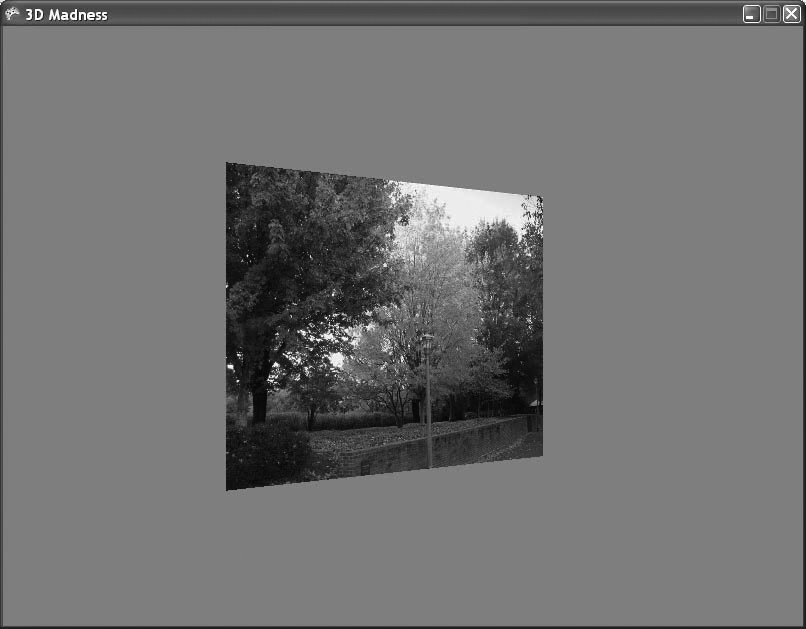
Figure 13-2. Pretty, pretty rectangle...ahhhhh...
Currently, the rectangle is drawn using the BasicEffect class. You're going to change that so it uses an effect
created from an HLSL file that you generate. The first thing to do is create a
subfolder under the Content node in your project by
right-clicking the Content node in Solution Explorer and
selecting Add â New Folder. Name the new folder Effects.
Next, right-click the Content\Effects folder in Solution Explorer and select Add â New Item.... Select Effect File as the template on the right and name the file Red.fx, as shown in Figure 13-3.
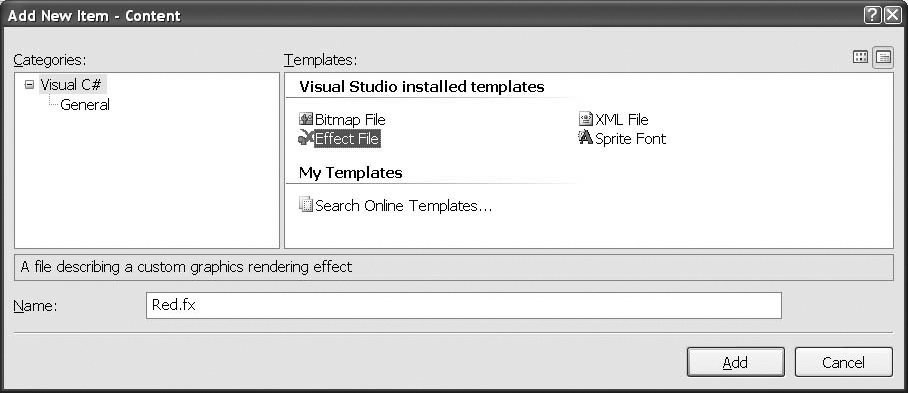
Figure 13-3. Creating a new effect file
Odds are that your sample effect file is the same as the code listed previously, but just to be safe, make sure that your effect file contains the following code:
float4x4 World; float4x4 View; float4x4 Projection; struct VertexShaderInput { float4 Position : POSITION0; }; struct VertexShaderOutput ...Get Learning XNA 3.0 now with the O’Reilly learning platform.
O’Reilly members experience books, live events, courses curated by job role, and more from O’Reilly and nearly 200 top publishers.

