Setting Up the Project
Before we get to loading and drawing a model, let's apply one of the lessons from
the 2D section of this book: for this project, you'll work with some object-oriented
design from the beginning. In the first half of this book, you implemented a
SpriteManager class that handled the drawing
of all sprites. You also created a base class for all sprites and derived
specialized sprites from that base class. That approach seemed to work pretty well,
so you'll implement the same type of design in your 3D game.
Start from scratch in this chapter by creating a new project. Name your game 3D Game, as shown in Figure 10-1.
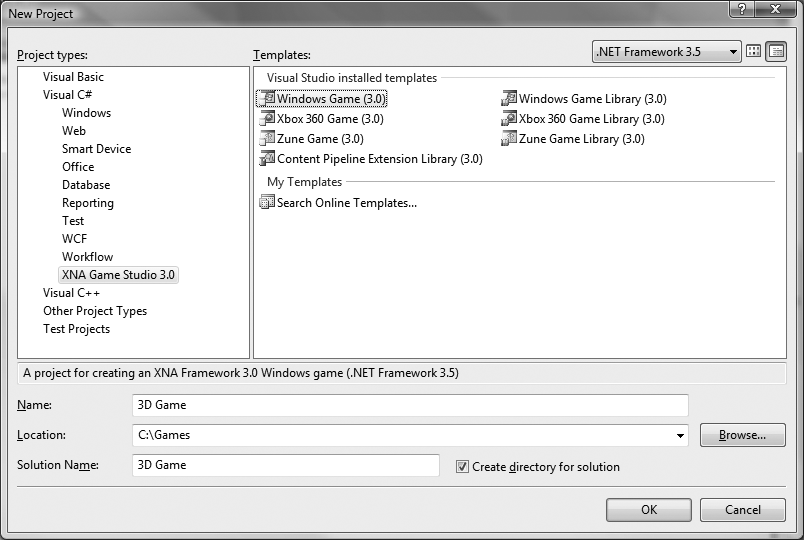
Figure 10-1. Creating a new project
The first thing you're going to need is a camera. You created a camera using a
GameComponent in the previous chapter, and
you'll need to do that again here. To simplify matters, you can copy the
Camera.cs file from the previous chapter and paste it into
this project; or, if you haven't already done so, you can download the source code
for Chapter 9 and copy the Camera.cs
file into your project now. You'll need to change the namespace from _3D_Madness to _3D_Game, though, in order to be able to use the Camera class in your project.
Alternatively, you can create a new GameComponent by right-clicking the solution in Solution Explorer, selecting Add â New Item..., and selecting the Game Component template from the list ...
Get Learning XNA 3.0 now with the O’Reilly learning platform.
O’Reilly members experience books, live events, courses curated by job role, and more from O’Reilly and nearly 200 top publishers.

