Creating a Zune Project
Once your Zune device is listed in the Device Center, you're ready to start working on some Zune games. To create a project for the Zune, open Visual Studio and select File â New â Project. The New Project window will appear, as seen in Figure 8-5. Select Visual C# â XNA Game Studio 3.0 as the project type from the menu on the left side of the New Project window, and select the Zune Game (3.0) template on the right. Name your solution MyZuneGame, specify a directory for your game, and click OK.
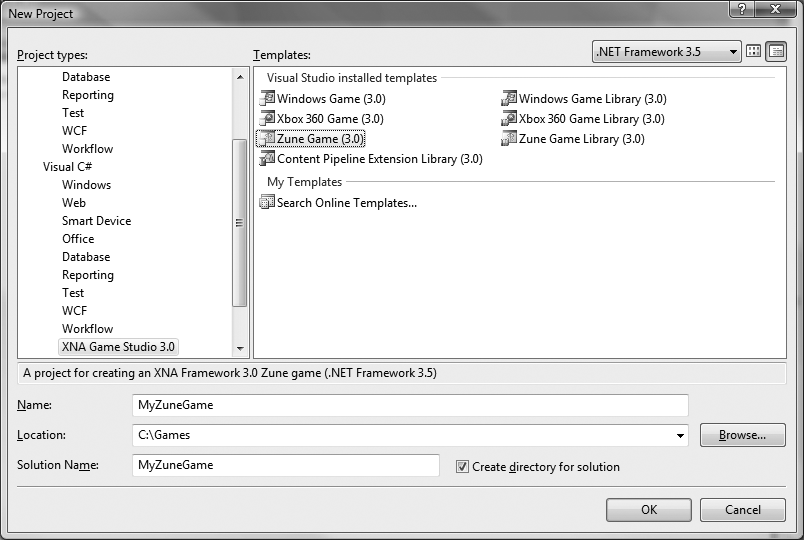
Figure 8-5. Creating a Zune game project
Once you click OK, your project will be created for you. Just like when developing
a game for Windows, the code generated will have a skeleton game application
consisting of a Game1 class with a constructor
and Initialize, LoadContent, UnloadContent,
Update, and Draw methods, as well as additional helper classes and content. The
generated code will create the same familiar cornflower-blue screen that you saw
when you first began developing your Windows game earlier in this book.
The content pipeline also has the same behavior as that covered in previous chapters. In fact, the entire architecture of a Zune game is essentially identical to that of a Windows or Xbox 360 game. Most of the code that you write for those platforms will be directly compatible with the Zuneâwith a few exceptions. This chapter will cover those differences, ...
Get Learning XNA 3.0 now with the O’Reilly learning platform.
O’Reilly members experience books, live events, courses curated by job role, and more from O’Reilly and nearly 200 top publishers.

