Chapter 1. Getting Started
Welcome to Learning Swift! In this book, weâll take you from knowing nothing about the Swift programming language to building a full-featured app for iOS 11. Along the way, weâll explore the libraries, frameworks, and features available to you as a developer of software for iPhones and iPads. Weâll be covering practical solutions to common problems, as well as the details of the Swift language itself.
Weâll begin with some important setup work that needs to be done before you can start using the developer tools. In particular, weâll take a look at the Apple Developer Program, and how to get your account set up so that you can build your app on a device.
Note
This book assumes that youâve got access to two things: a Mac and an iOS device of some kind (that is, an iPhone or iPad).
The Mac is mandatory; without it, you canât run Xcode, which is the tool for writing your code, designing your interfaces, and building and running your code. Your Mac will need to be capable of running Xcode 9.2 or newer, which means that it needs to run macOS 10.12 or higher.
The iOS device is not absolutely mandatory, but you wonât be able to follow all of the book without it, because the app that weâre making in this book makes use of hardware features that arenât present in the iOS simulator. The device you use needs to be able to run iOS 11 or later.
Xcode
Xcode is the development environment used for all development work done on Apple platforms. As you work through this book, youâll be spending most of your time inside Xcode. With that in mind, weâll be spending the rest of this chapter getting a copy of Xcode, setting it up, and getting familiar with the interface.
Getting Xcode
Xcode is available via the App Store. To get a copy, search the App Store for Xcode or go to Appleâs developer downloads page, find Xcode, and click the Download button.
Tip
If you prefer not to use the App Store, you can download it directly via Appleâs Downloads for Apple Developers page. This page lists all versions of Xcode, so be sure to get the most recent one.
Once itâs installed, go ahead and launch it. Youâll be greeted by the welcome screen seen in Figure 1-1.
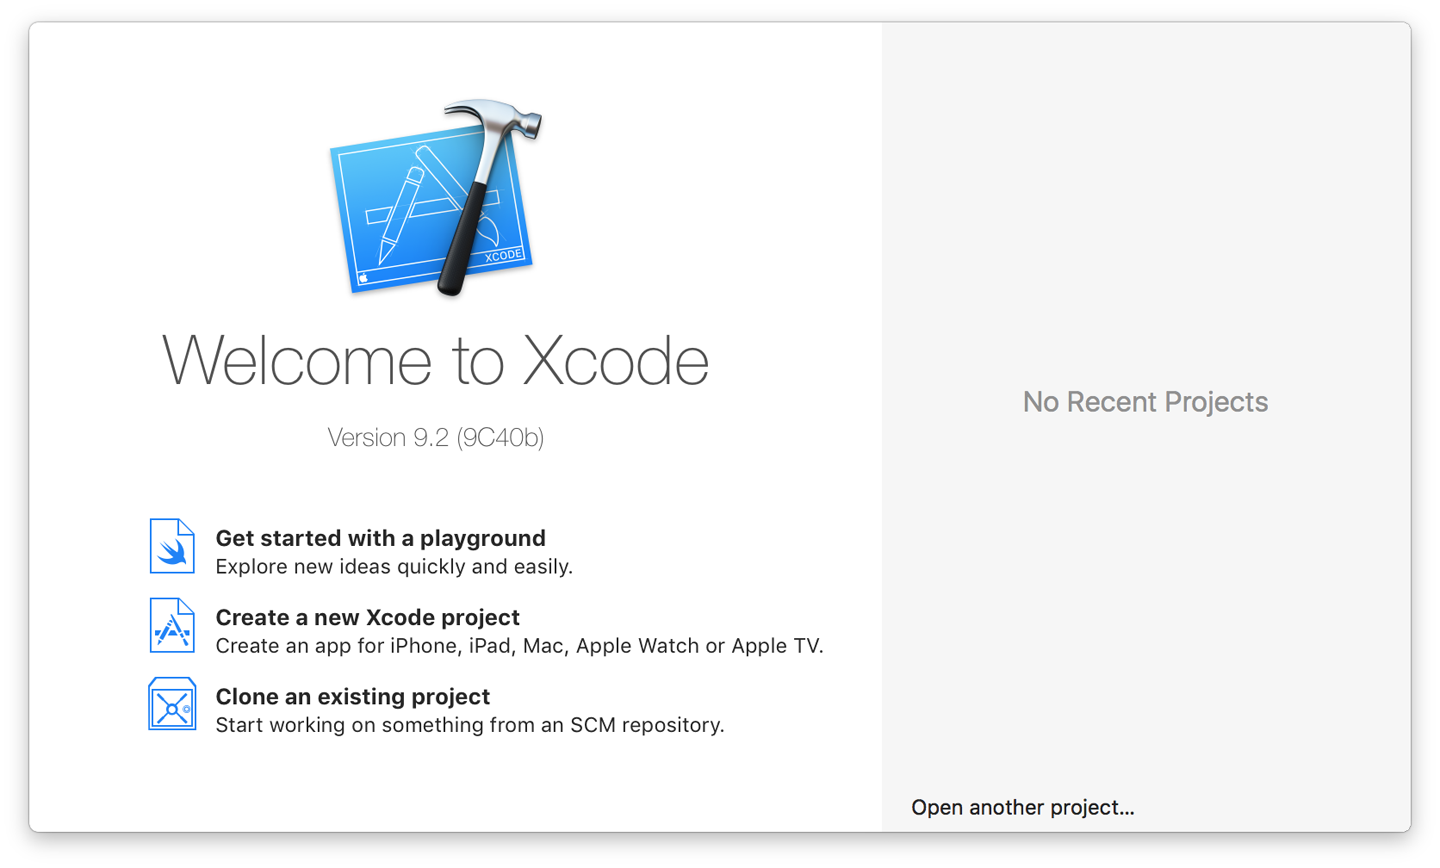
Figure 1-1. The Welcome to Xcode screen
Creating Your First Project
Since we want to take a tour of Xcode, weâll start by creating an empty project (weâll repeat this step in Chapter 4, when we start building this bookâs main app):
-
Click âCreate a new Xcode project.â The template chooser (seen in Figure 1-2) will appear.
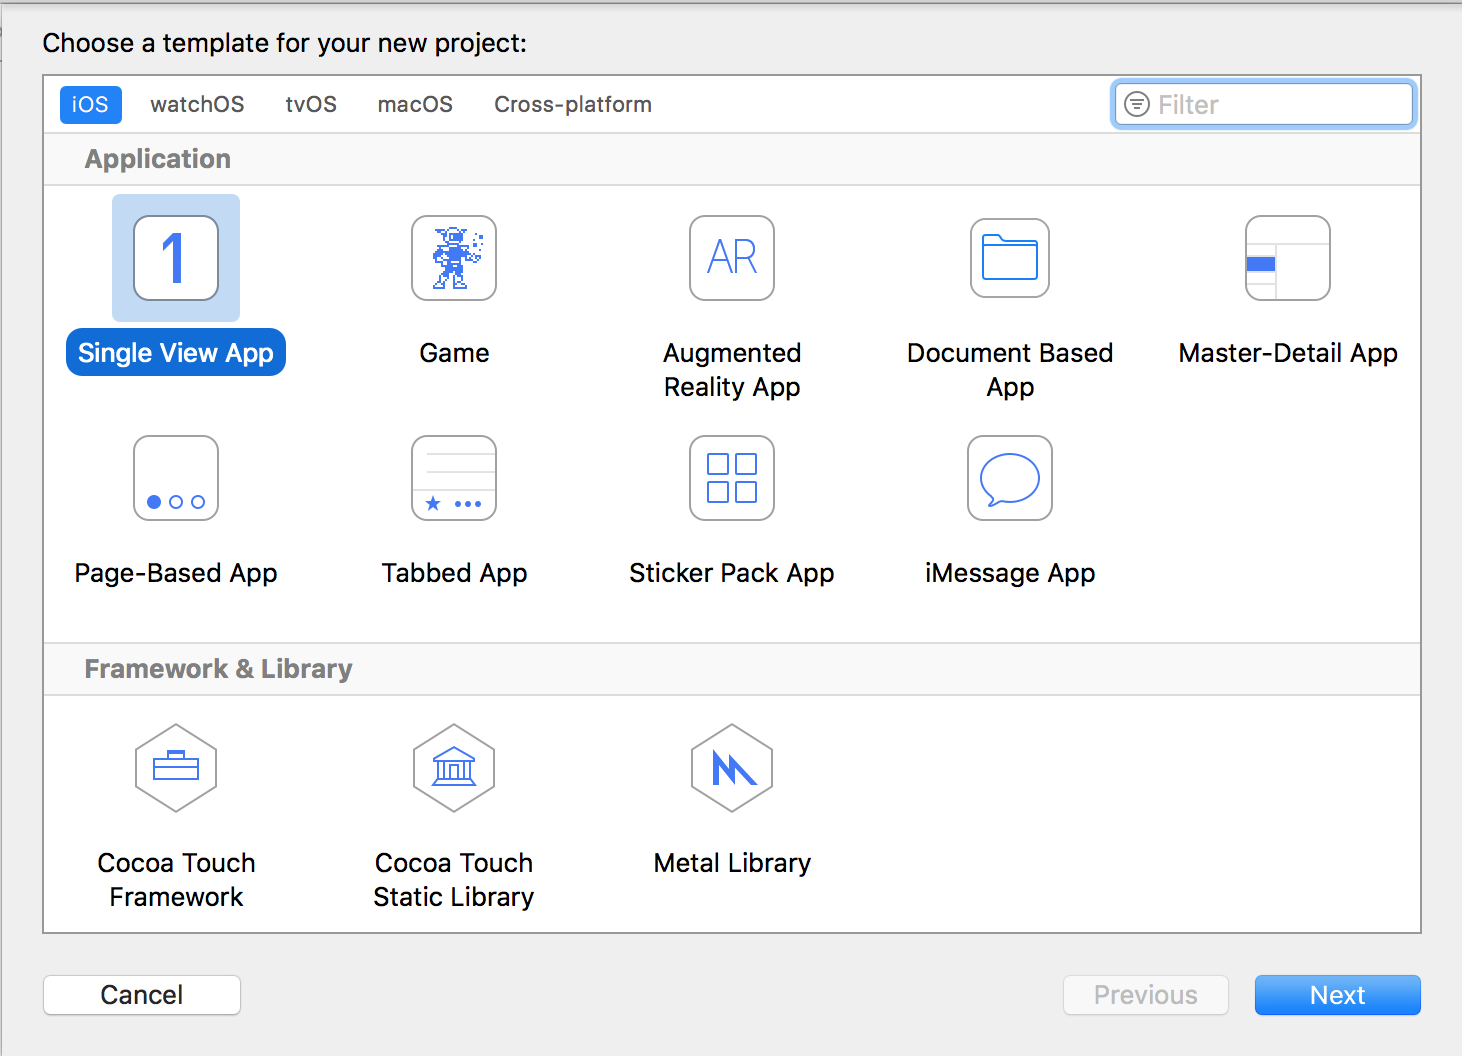
Figure 1-2. The Xcode template chooser
-
Select Single View App, and click Next.
Xcode will ask you to provide some initial information describing the app. Because youâll just be using this app as a way to get used to Xcode, rather than actually work on the code itself, it doesnât matter much what you put in this field, though this will be different in Chapter 4.
-
When youâre done, click Next, and choose where to save the project.
Youâll now be looking at Xcodeâs main interface, as seen in Figure 1-3.
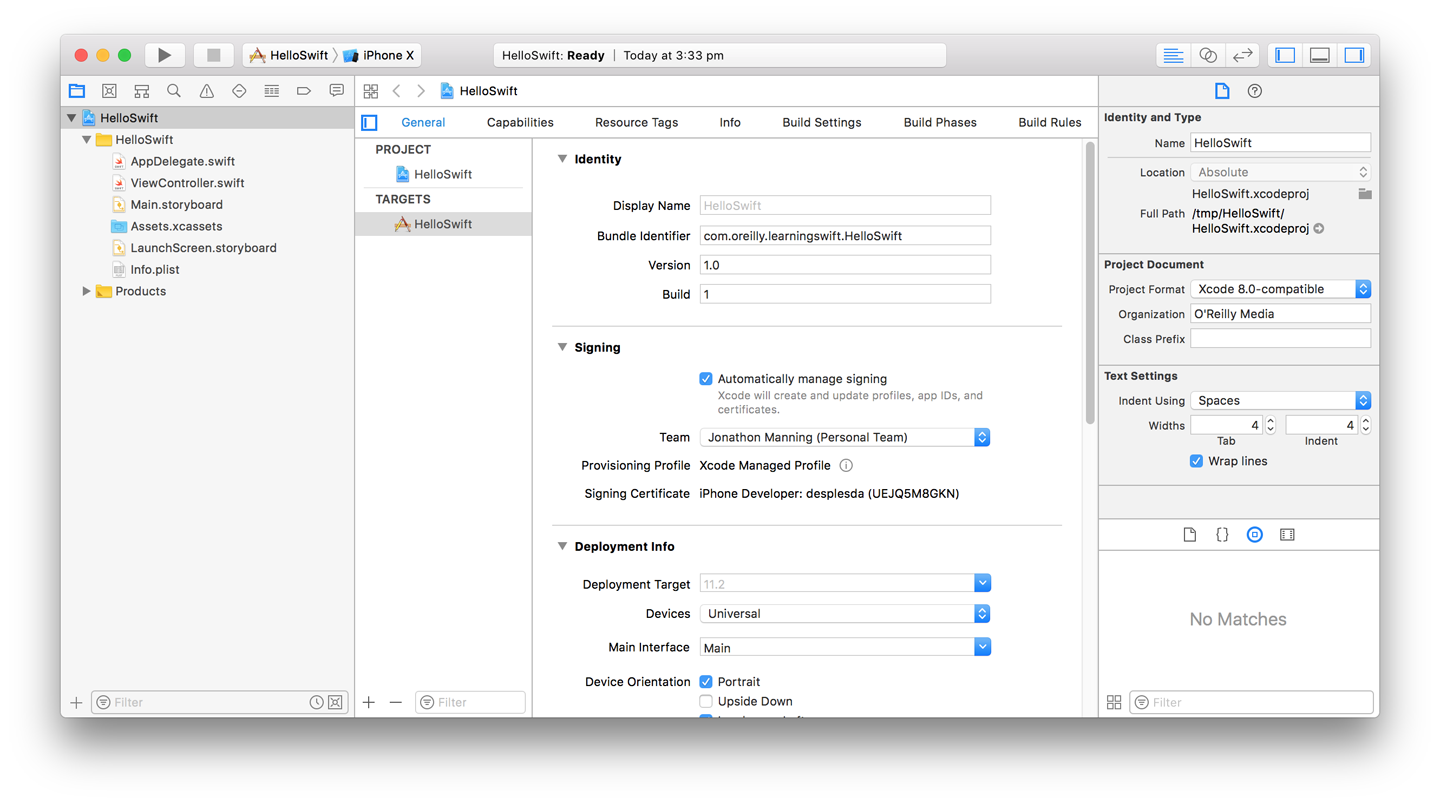
Figure 1-3. Xcodeâs main interface
Working with the Xcode Interface
Xcode shows your entire project in a single window, which is divided into a number of sections. You can open and close each section at will, depending on what you want to see.
Letâs take a look at each of these sections and examine what they do.
The Editor
The Xcode editor is where youâll be spending most of your time. All source code editing, interface design, and project configuration takes place in this section of the application, which changes depending on which file you have open.
If youâre editing source code, the editor is a text editor, with code completion, syntax highlighting, and all the usual features that developers have come to expect from an integrated development environment. If youâre modifying a user interface, the editor becomes a visual editor, allowing you to drag around the components of your interface. Other kinds of files have their own specialized editors as well.
When you first create a project, the editor will start by showing the project settings, as seen in Figure 1-4.
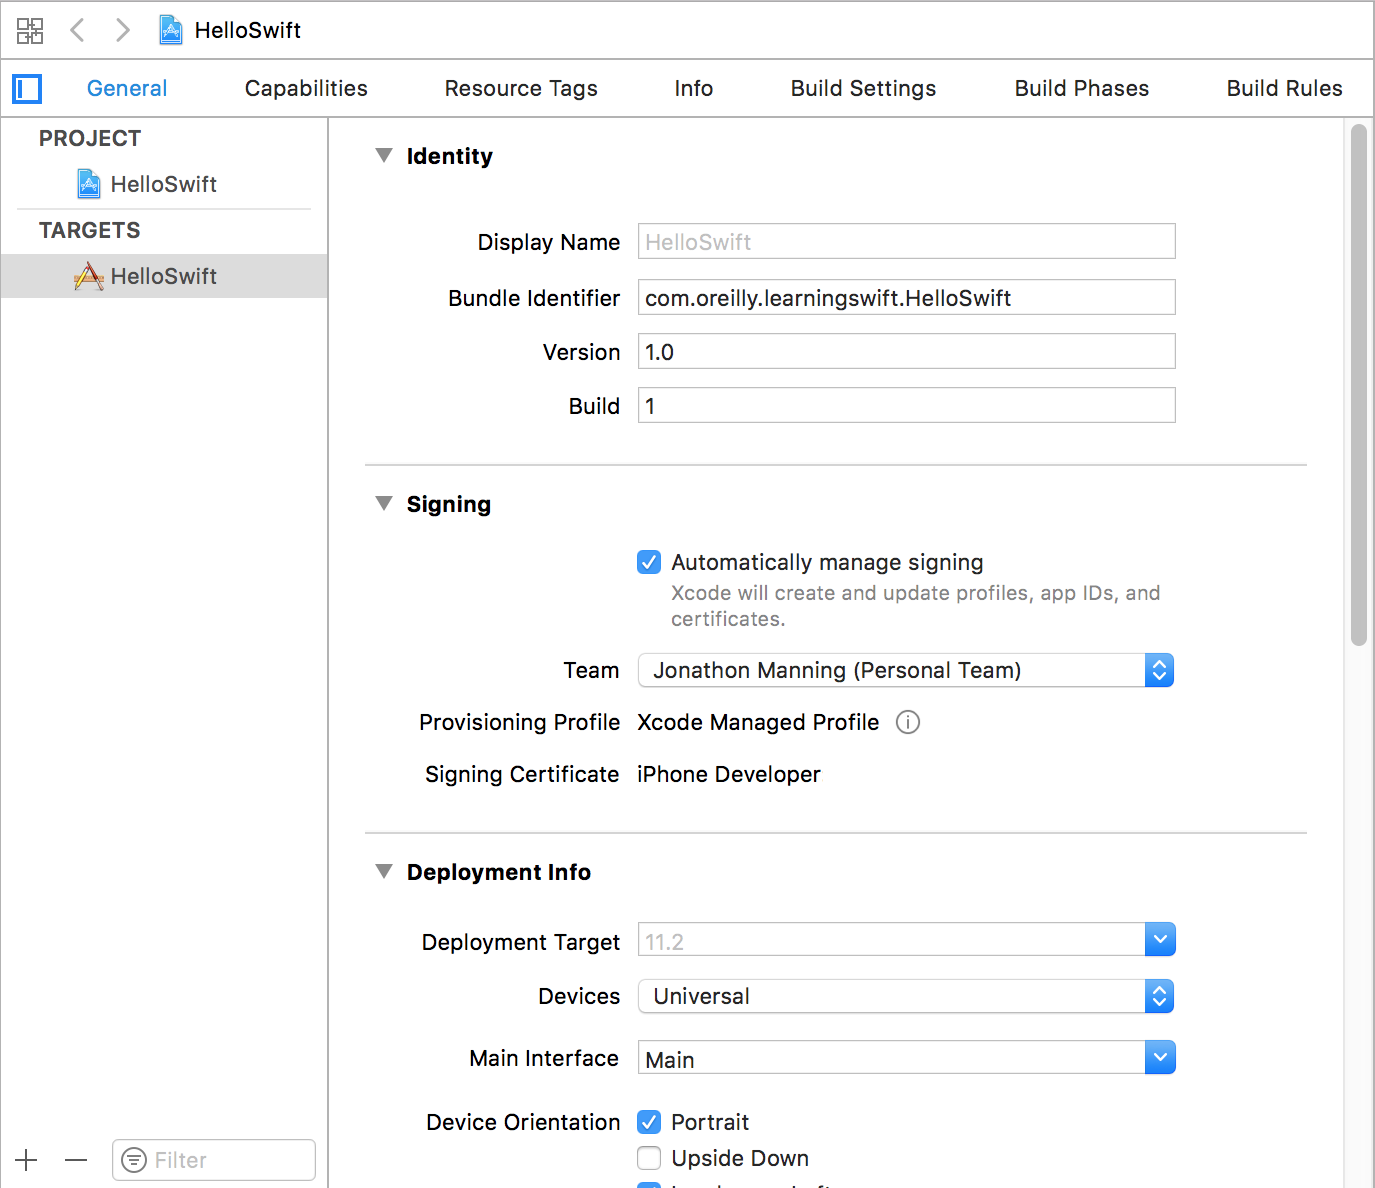
Figure 1-4. Xcodeâs editor, showing the project settings
The editor can also be split into a main editor and an assistant editor through the editor selector. The assistant shows files that are related to the file open in the main editor. It will continue to show files that have a relationship to whatever is open, even if you open different files.
For example, if you open an interface file and then open the assistant, the assistant will, by default, show related code for the interface youâre editing. If you open another interface file, the assistant will show the code for the newly opened file.
At the top of the editor, youâll find the jump bar. The jump bar lets you quickly jump from the content that youâre editing to another piece of related content, such as a file in the same folder. The jump bar is a fast way to navigate your project.
The Toolbar
The Xcode toolbar (Figure 1-5) acts as mission control for the entire interface. Itâs the only part of Xcode that doesnât significantly change as you develop your applications, and it serves as the place where you can control what your code is doing.

Figure 1-5. Xcodeâs toolbar
From left to right, after the macOS window controls, the toolbar features the following items:
- Run button (Figure 1-6)
-
Clicking this button instructs Xcode to compile and run the application.
Depending on the kind of application youâre running and your currently selected settings, this button will have different effects:
-
If youâre creating a Mac application, the new app will appear in the Dock and will run on your machine.
-
If youâre creating an iOS application, the new app will launch either in the iOS simulator or on a connected iOS device, such as an iPhone or iPad.
Additionally, if you click and hold this button, you can change it from Run to another action, such as Test, Profile, or Analyze. The Test action runs any unit tests that you have set up; the Profile action runs the Instruments application (we cover this much later, in Chapter 17); and the Analyze action checks your code and points out potential problems and bugs.
-

Figure 1-6. The run button
- Stop button (Figure 1-7)
-
Clicking this button stops any task that Xcode is currently doingâif itâs building your application it stops, and if your application is running in the debugger it quits it.

Figure 1-7. The stop button
- Scheme selector (Figure 1-8)
-
Schemes are what Xcode calls build configurationsâthat is, whatâs being built, how, and where it will run (i.e., on your computer or on a connected device).
Projects can have multiple apps inside them. When you use the scheme selector, you choose which app, or target, to build.
To select a target, click the lefthand side of the scheme selector.
You can also choose where the application will run. If you are building a Mac application, you will almost always want to run the application on your Mac. If youâre building an iOS application, however, you have the option of running the application on an iPhone simulator or an iPad simulator. (These are in fact the same application; it simply changes shape depending on the scheme that youâve selected.) You can also choose to run the application on a connected iOS device if it has been set up for development. This is discussed in some more detail in âRunning Your Codeâ.

Figure 1-8. The scheme selector
- Status display (Figure 1-9)
-
The status display shows what Xcode is doingâbuilding your application, downloading documentation, installing an application on an iOS device, and so on.
If there is more than one task in progress, a small button will appear on the lefthand side, which cycles through the current tasks when clicked.

Figure 1-9. The status display
- Editor selector (Figure 1-10)
-
The editor selector determines how the editor is laid out. You can choose to display either a single editor, the editor with the assistant, or the versions editor, which allows you to compare different versions of a file if youâre using a revision control system like Git or Subversion.

Figure 1-10. The editor selector
Note
We donât have anywhere near the space needed to talk about using version control in your projects in this book, but itâs an important topic. We recommend Jon Loeliger and Matthew McCulloughâs Version Control with Git, 2nd Edition (OâReilly).
- View selector (Figure 1-11)
-
The view selector controls whether the navigator, debug, and utility panes appear on screen. If youâre pressed for screen space or simply want less clutter, you can quickly summon and dismiss these parts of the screen by clicking each of the elements.

Figure 1-11. The view selector
The Navigator
The lefthand side of the Xcode window is the navigator, which presents information about your project (Figure 1-12).
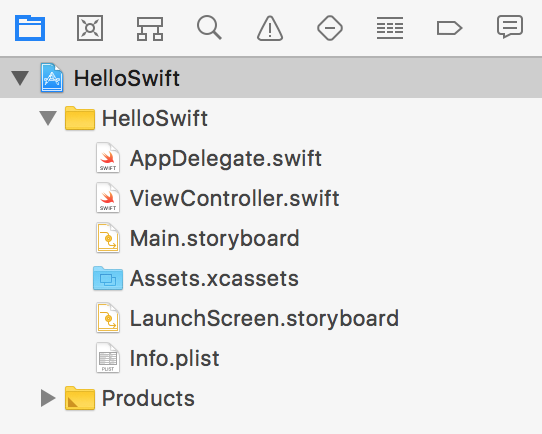
Figure 1-12. Xcodeâs navigator pane
The navigator is divided into eight tabs, from left to right:
- Project navigator
-
Lists all the files that make up your project. This is the most commonly used navigator, as it determines what is shown in the editor. Whatever is selected in the project navigator is opened in the editor.
- Symbol navigator
-
Lists all the classes and functions that exist in your project. If youâre looking for a quick summary of a class or want to jump directly to a method in that class, the symbol navigator is a handy tool.
- Search navigator
-
Allows you to perform searches across your project if youâre looking for specific text. (The shortcut is â-Shift-F. Press â-F to search the current open document.)
- Issue navigator
-
Lists all the problems that Xcode has noticed in your code. This includes warnings, compilation errors, and issues that the built-in code analyzer has spotted.
- Test navigator
-
Shows all the unit tests associated with your project. Unit tests used to be an optional component of Xcode but are now built into Xcode directly. Unit tests are discussed later, in âTesting the SelfieStoreâ.
- Debug navigator
-
Activated when youâre debugging a program; allows you to examine the state of the various threads that make up your program.
- Breakpoint navigator
-
Lists all of the breakpoints that youâve set for use while debugging.
- Report navigator
-
Lists all the activity that Xcode has done with your project (such as building, debugging, and analyzing). You can go back and view previous build reports from earlier in your Xcode session, too.
Utilities
The utilities pane (Figure 1-13) shows additional information related to what youâre doing in the editor. If youâre editing a Swift source file, for example, the utilities pane allows you to view and modify settings for that file.

Figure 1-13. The utilities pane, showing information for a source file
The utilities pane is split into two sections: the inspector, which shows extra details and settings for the selected item; and the library, which is a collection of items that you can add to your project. The inspector and the library are most heavily used when youâre building user interfaces; however, the library also contains a number of useful items, such as file templates and code snippets, which you can drag and drop into place.
The Debug Area
The debug area (Figure 1-14) shows information reported by the debugger when the program is running. Whenever you want to see what the application is reporting while running, you can view it in the debug area. By default the debug area is not shown unless there is a program running.
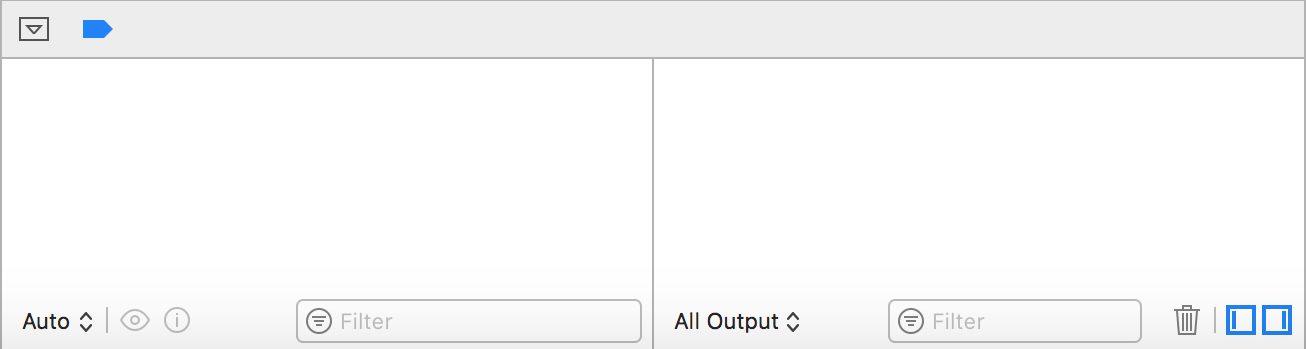
Figure 1-14. The debug area
The area is split into two sections: the lefthand side shows the values of local variables when the application is paused; the righthand side shows the ongoing log from the debugger, which includes any logging that comes from the debugged application.
You can show or hide the debug area by clicking the middle button of the Xcode toolbarâs view selector, at the top right of the window (see Figure 1-15).

Figure 1-15. The central button in the view selector, which hides and shows the debug area
Running Your Code
When youâre building an iOS app, youâre writing code that isnât intended to run on the computer that youâre developing it on. Instead, your code is designed to run on iOS, which means that you have two options for testing your code: running it on the iOS simulator, or running it on a real device.
The iOS Simulator
Weâll start with the iOS simulator, since it doesnât require any setup.
Xcode comes with a number of simulators, and each one is designed to mimic the properties of a current or recent iPhone or iPad.
To build your app for the simulator, open the scheme selector and choose a simulator from the list (seen in Figure 1-16). Click the Build button, or press Command-R, to build your app; when itâs done, the app will launch in the simulator.
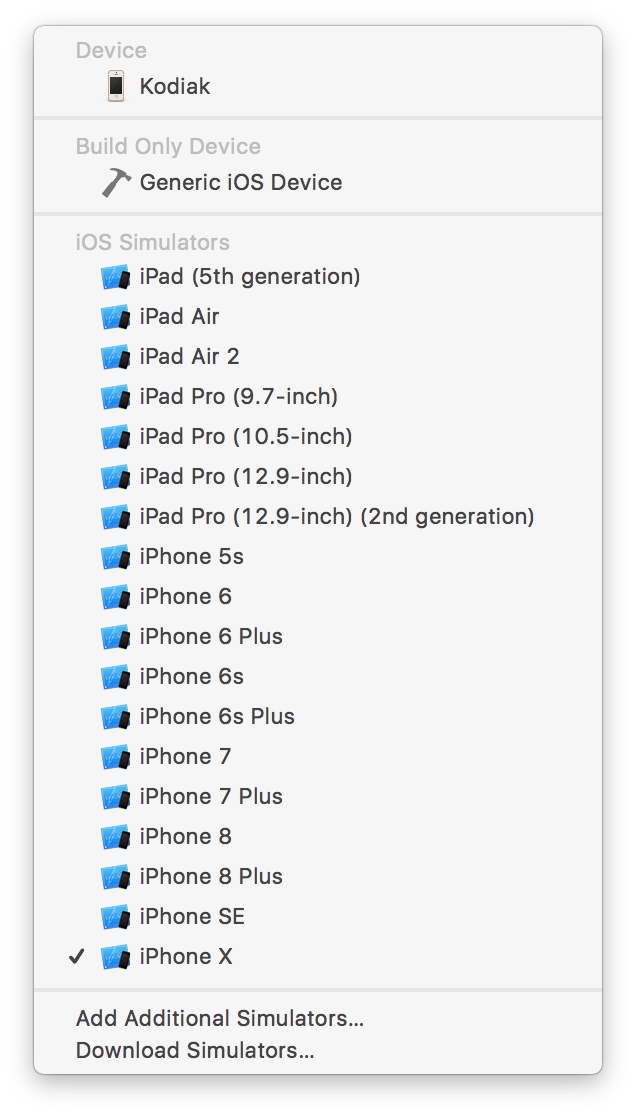
Figure 1-16. The list of simulators built into Xcode 9.2
The simulator can be quite different to a real device, in a few key ways. The simulator is not an emulator; when you build and run code that runs on the simulator, youâre actually running a version of your code thatâs built for the Intel chip that runs your Mac, and not for the ARM chip that runs iOS devices.
This means that the processing performance of an app in the simulator can be quite different to one running on the device. Additionally, the simulator frequently has much more memory available. If your app runs fine in the simulator, thatâs not a guarantee of great performance on a real device.
Finally, the simulator lacks several hardware features that a real device has. For example, the simulator doesnât have a camera, which is something thatâs pretty important for the app weâll be building in the rest of this book.
Running on a Device
The scheme selector also allows you to select a connected iOS device to build and run your app on. Running on a real device is almost as easy as running in the simulator, with one catchâcode that runs on a device must be signed with a developer certificate.
A developer certificate identifies the person or company who wrote the code. iOS devices will only run code thatâs been signed using a certificate that itself has been signed by Apple.
Xcode will automatically generate a certificate for you when you sign in with the Apple ID you want to use for development. To do this, follow these steps:
-
Open the Xcode menu, and choose Preferences.
-
Go to the Accounts tab, and click the + button.
-
Sign in to your account.
Once youâve signed into an account, you need to associate your app with a team. Teams are how Xcode organizes developers and their certificates; if youâre an individual developer, your team will contain just yourself.
To set this up, follow these steps:
-
Select the project at the top of the project navigator. (Itâs the item at the very top, with a blue document icon.)
-
In the Signing section of the main editor, select a team from the Team drop-down menu.
Xcode will do some work to set up code signing, and then youâll be ready to start running your app on your device.
Tip
When you associate a project with a team, Xcode will automatically generate a certificate for you, if you donât already have one, as well as a provisioning profileâa file that links the app to your certificate. In addition to letting Xcode manage this for you, you can also manually manage it through the Apple developer website. Weâll be discussing code signing in more detail in âCode Signing with matchâ.
To build and run your app, follow these steps:
-
Ensure that your device is connected to your Mac.
-
Select your device from the scheme selector, and click the Run button (or press Command-R).
Distributing Your Apps
Running code on your own devices is free, and doesnât require you to sign up for anything besides an Apple ID, which is something you likely have already from when you set up your iPhone or Mac.
However, if you want to distribute your app to others, such as via Appleâs TestFlight or the App Store, youâll need to enroll in the Apple Developer Program. At the time of writing, this costs $99 per year and grants you access to tools like TestFlight, which allows you to distribute beta versions of your app to testers, and iTunes Connect, which is the control panel that allows you to submit apps to the App Store.
Note
You donât need to be enrolled in the Apple Developer Program in order to follow along with building the example app in this book, but you will need to be in order to get the most out of Chapter 19 and Chapter 20.
The Interface Builder
In addition to writing code, Xcode also serves as the app where youâll design the interfaces for your apps. Since interface design is as important to iOS apps as the code that powers them, weâll spend some time getting used to the interface builder.
To bring up the interface builder, youâll need to select a storyboard file from the project navigator. Select the Main.storyboard file now. Xcode will show the interface builder, as seen in Figure 1-17.
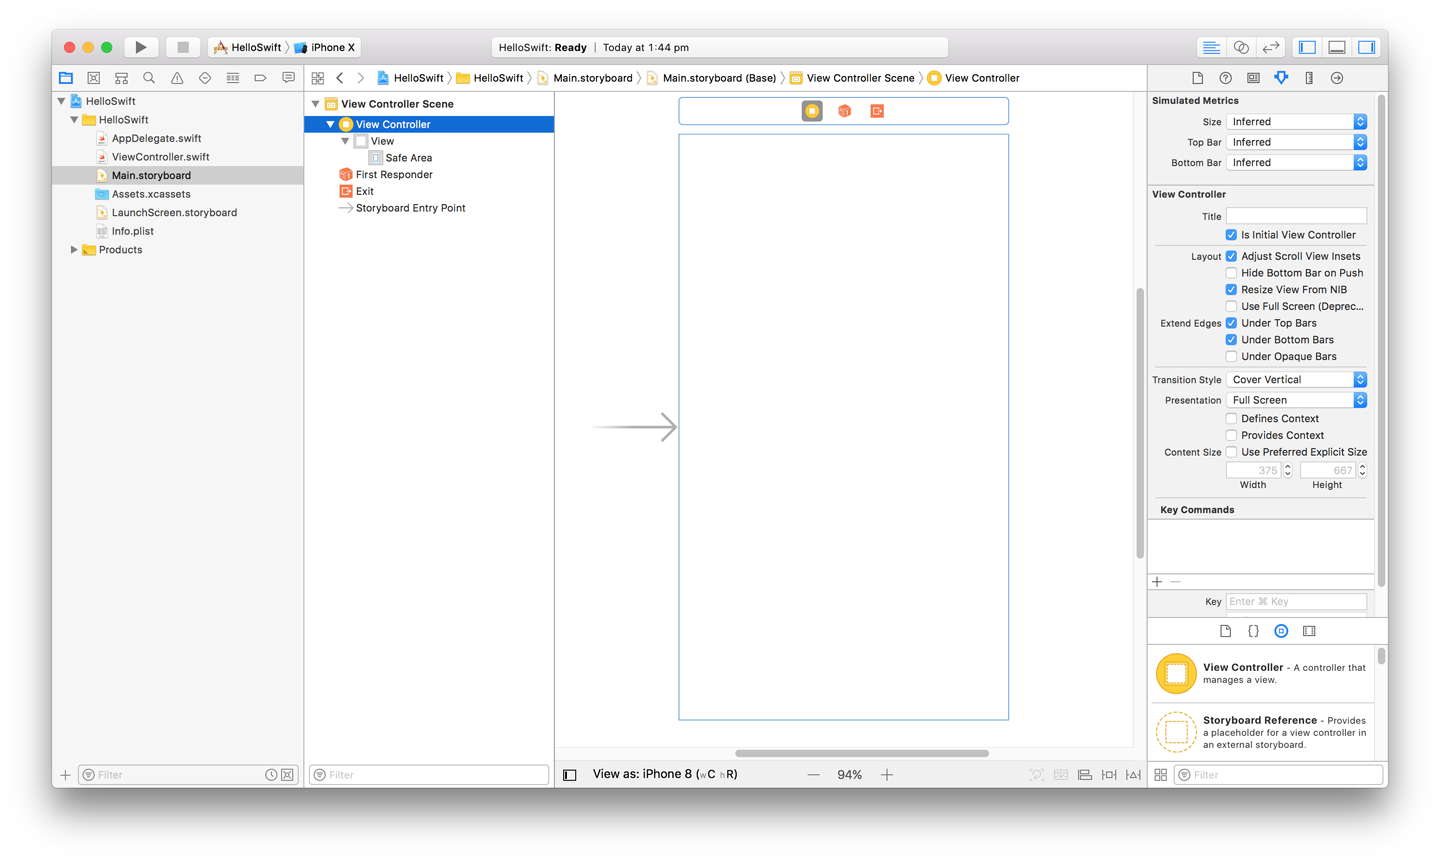
Figure 1-17. The interface builder
There are a few important features of the interface builder to know about:
-
On the lefthand side of the editor, youâll find the outline. The outline contains a list of all objects in the document, and also shows their structure.
-
The righthand side of the Xcode window will adjust to show properties specific to the objects in the interface. In addition, the library (at the bottom of the utilities pane) contains the list of UI elements that youâll use to build your interface; you can access this list by clicking the Object Library button, which is the circular icon thatâs second from the right in the selector bar at the top of the library pane (Figure 1-18).
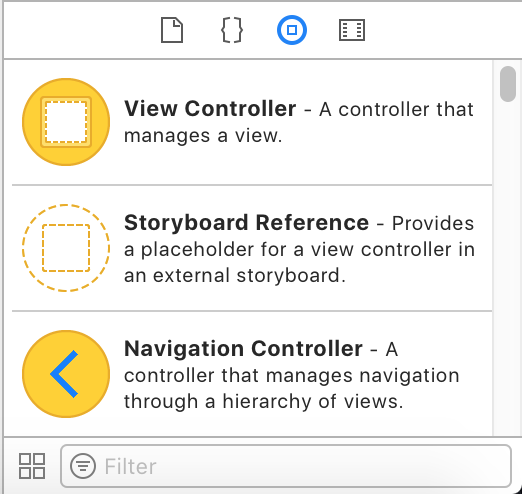
Figure 1-18. The object library
Interfaces in iOS
In iOS, everything thatâs visible is called a view. That is, anything thatâs on the screen and viewable or interactable with by the user, including buttons, labels, and text fields, is a view.
Views can also be embedded inside other views. This fact underlies the fundamental design philosophy of iOS applications, since each âscreenâ of content that youâre looking at on a device is a view that contains other views.
This top-level view is managed by an object called a view controller; to make a screen of content, you create a subclass of UIViewController, which overrides certain functions that are called during the lifecycle of a screen of content, and include methods that are specific to the functionality of the screen youâre building. Additionally, you create and set up the interface for the view controller in the interface builder, and link that interface to the name of the class that youâve added.
Over the course of this book, weâll be spending significant amounts of time jumping in and out of the interface builder, so itâs useful to have this fundamental understanding of how interfaces in iOS apps work.
Conclusion
In this chapter, weâve set up and reviewed the tools youâll be using to build your apps. In the next chapter, weâll start looking at the Swift programming language itself.
Get Learning Swift, 3rd Edition now with the O’Reilly learning platform.
O’Reilly members experience books, live events, courses curated by job role, and more from O’Reilly and nearly 200 top publishers.

