Packing UVs
After the objects are unwrapped, you have to “pack” them, which is the process in which you put together all the UVs in a single workspace so that they don’t overlap each other. The purpose is that instead of having a different texture for each object, you can have the whole character textured with a single image, so each part of it will occupy a part of the UV Map.
Figure 8.10 shows what the finished UVs will look like all together, which you’ll learn how to do in this section.
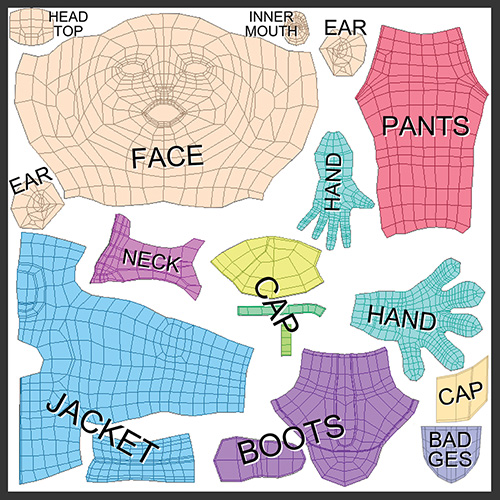
Figure 8.10 The packed UVs for Jim, shown with different colors for each object so you can see how they are distributed
With all these objects in one place, ...
Get Learning Blender: A Hands-On Guide to Creating 3D Animated Characters now with the O’Reilly learning platform.
O’Reilly members experience books, live events, courses curated by job role, and more from O’Reilly and nearly 200 top publishers.

