Chapter 5. Digital and Analog IO with the MakerShield
Let’s take a quick look at the MakerShield, shown in Figure 5-1. When you’re prototyping a project for your Netduino, a prototyping shield (such as the MakerShield) can be very useful. This shield provides a prototyping area (a good place to put a tiny breadboard) and also has built-in LEDs, a pushbutton, and a potentiometer (think “volume knob”). The MakerShield is available from Maker Shed at http://www.makershed.com/MakerShield_p/msms01.htm.
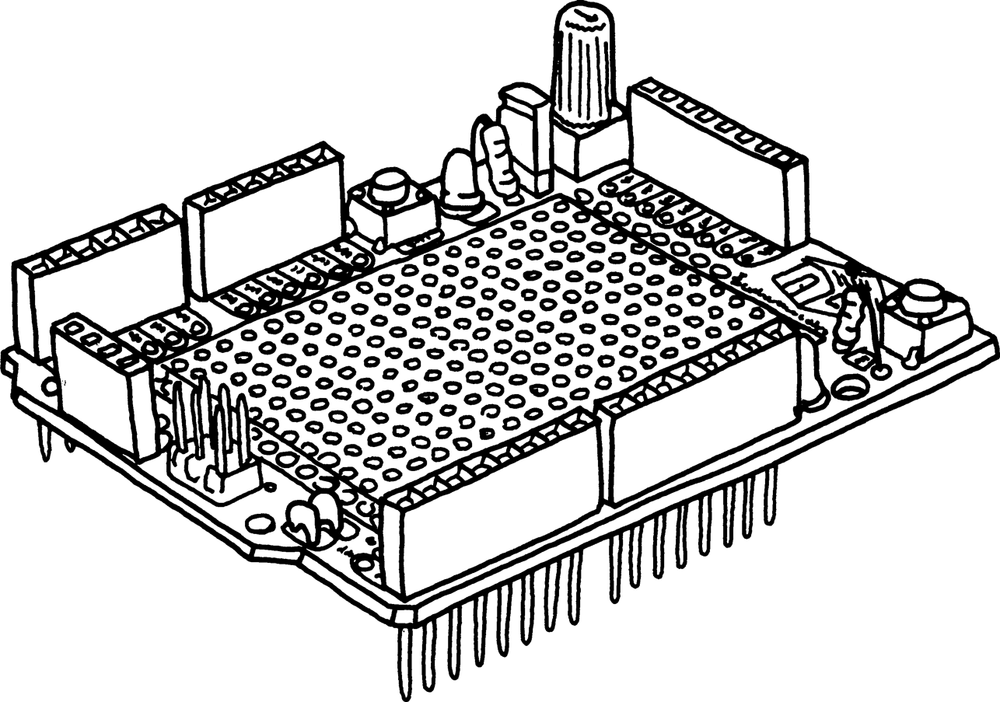
Figure 5-1. MAKE’s MakerShield kit
Note
If you don’t have a MakerShield, don’t worry: you can plug a pushbutton and LED into a breadboard and then connect the breadboard to the Netduino using a few wires. See Chapter 6 for a complete explanation of breadboards.
To use the MakerShield, simply follow its instructions to solder it together, make sure its jumper is set in the 3.3V position, and then plug it into the top of your Netduino. Its 28 connector legs should be fairly strong—but you should always be a little gentle when inserting them.
In the bottom-left corner of the MakerShield, you’ll notice a 4-pin header with the labels BTN1, LED1, LED2, and POT1 next to it. These header holes are connected to the pushbutton BTN1, to the two LEDs, and to the knob (POT = potentiometer). You’ll use a short piece of solid jumper (or hookup) wire to connect these header holes to the desired digital or analog ...
Get Getting Started with Netduino now with the O’Reilly learning platform.
O’Reilly members experience books, live events, courses curated by job role, and more from O’Reilly and nearly 200 top publishers.

