To see how Excelâs list and XML features work, start Excel and follow these steps:
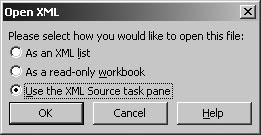
Choose File â Open, type http:// http://www.mstrainingkits.com/Excel/ExcelObjects.xml , and click OK. Excel asks you how you want to open the file (Figure 1-3).
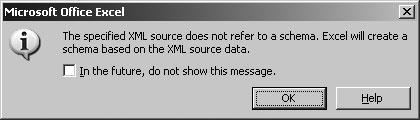
Choose Use the XML Source task pane and click OK. As shown in Figure 1-4, Excel asks if itâs OK to create a schema.
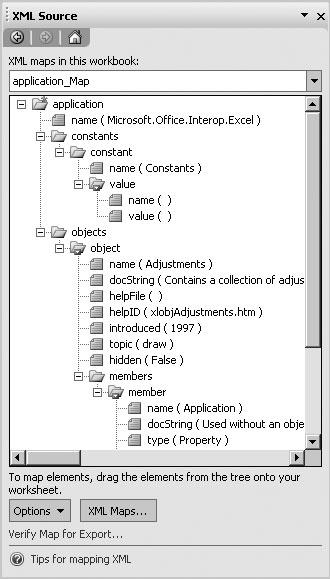
Click OK, and Excel reads the XML file and generates a view of the data it contains in the XML Source task pane, like that in Figure 1-5.
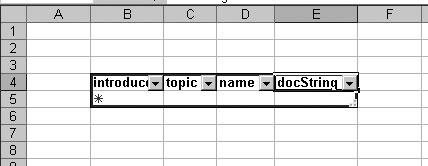
Drag these elements from the object folder to adjacent cells in a row: introduced, topic, name, and docString. Excel creates a list on the worksheet (Figure 1-6).
Choose Data â XML â Refresh XML Data. Excel downloads the list of Excel VBA objects from the file.
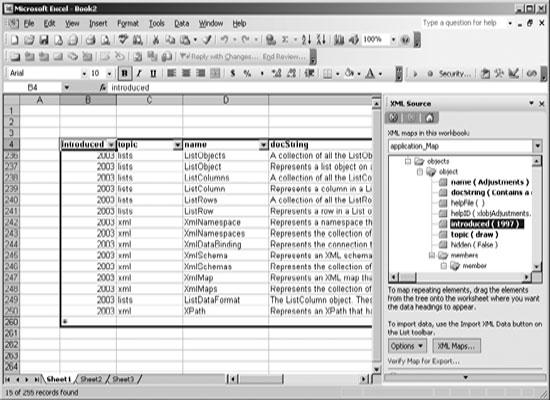
Click the introduced column heading and select 2003 from the drop-down list. Excel filters the list to display only the new objects (Figure 1-7).
Thatâs pretty neat, but docString is way too long to display on screen. I like using Comments to display multiline text in worksheets and because weâre all programmers here, you wonât mind writing a little code:
Start the Visual Basic editor and open ThisWorkbook in a code window.
Select Workbook from code windowâs the object list and AfterXmlImport in the event list and add the following code:
   Private Sub Workbook_AfterXmlImport(ByVal Map As XmlMap, _
     ByVal IsRefresh As Boolean, ByVal Result As XlXmlImportResult)
       Dim cel As Range, ws As Worksheet, rng As Range
       Set ws = ThisWorkbook.Worksheets("Sheet1")
       Set rng = ws.ListObjects("List1").ListColumns("name").Range
       For Each cel In rng
           If Not (cel.Comment Is Nothing) Then cel.Comment.Delete
           cel.AddComment cel.offset(0, 1).Text
       Next
   End Sub
Return to the worksheet, select the docstring column, and then hide it (Format â Column â Hide Column).
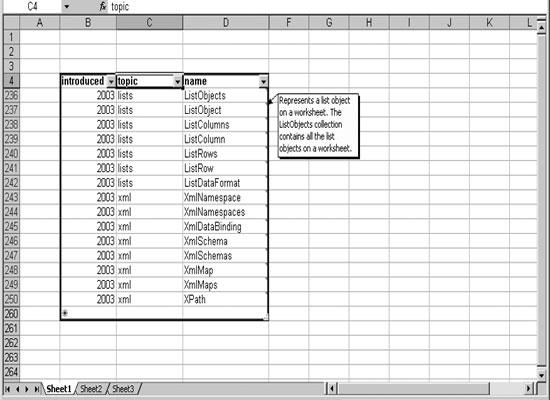
Update the list from the source XML (Data â XML â Refresh XML Data). After Excel refreshes the list it runs the code you wrote to add comments cells in the name column (Figure 1-8).
Get Excel 2003 Programming: A Developer's Notebook now with the O’Reilly learning platform.
O’Reilly members experience books, live events, courses curated by job role, and more from O’Reilly and nearly 200 top publishers.

