Creating Custom Site Templates
To create a custom site template:
Create a new site based on one of the predefined site templates.
Modify the site.
Save the site as a template.
For example, to extend the standard Team Site template to include a Picture Library:
Create a new site based on the Team Site template. Choose Create â Web Pages â Sites and Workspaces, enter a title and address, and then click Create.
Add a Picture Library to the site. Choose Pictures â Create Picture Library â Picture Library, enter a library name, and then click Create.
Save the site as a custom template. Choose Site Settings â Go to Site Administration â Save site as template. Figure 3-2 illustrates the results.
Complete the Save Site as Template page and choose OK to create the template.
SharePoint saves the site as a template file and adds it to the Site Template Gallery list.
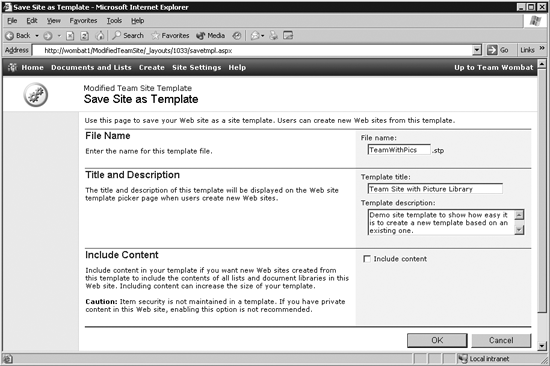
Figure 3-2. Saving a modified site as a new, custom template
Custom templates added to the Site Template Gallery appear in the templates list when you create a new site, as shown in Figure 3-3.
Viewing, Editing, and Deleting Template Files
The custom template file (.stp) in Figure 3-2 is actually a compressed cabinet file containing an XML template description. To see the contents of the template file:
Choose Site Settings â Go to Site Administration â Manage site template gallery. SharePoint displays a list of the custom templates. ...
Get Essential SharePoint now with the O’Reilly learning platform.
O’Reilly members experience books, live events, courses curated by job role, and more from O’Reilly and nearly 200 top publishers.

