Adding a New Server to the DNS Console
The first step is configuring the DNS console to manage the primary master name server for your zone. The primary master for a zone—also called just the primary—stores information about the zone on its disk. You make all changes to your zone on the primary master.
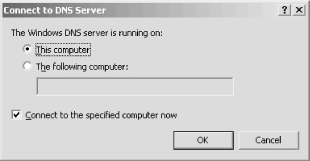
Select Action → Connect To DNS Server and specify where the name server you want to manage—the primary master—is running. As you can see in Figure 4-9, you can choose either the local machine or specify a name server running somewhere else. If the name server isn’t local, enter its name or IP address. Leave the box checked, which causes the DNS console to immediately contact the server to obtain its status and a list of any zones it might already be authoritative for.
 |
The DNS console adds an icon in the left pane for that name server, as in Figure 4-10.
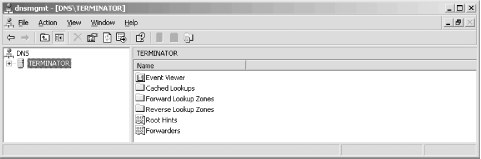 |
It’s important to understand what we just did here. We told the DNS console about a name server for it to manage and it added that name server to its configuration. The DNS console did not start the name server on the target machine. If the name server isn’t already installed and running, the DNS console can’t manage it and ...
Get DNS on Windows Server 2003, 3rd Edition now with the O’Reilly learning platform.
O’Reilly members experience books, live events, courses curated by job role, and more from O’Reilly and nearly 200 top publishers.

