Dealing with Specific Image Problems
Once the cleanup or background work is done, continue with the remaining changes.
Sharpening Image Details
If the image looks soft in the main focal point of the image, you can try and add Unsharp Masking to the image, the before and after of affects of which you can see in Figure 7-19 and Figure 7-20. You may sharpen the image to a small degree, but you will also introduce noise to the image. Start by adding Unsharp Masking and experiment with different variables to see if you achieve an effective result. If not, you'll need to use masks and the Clone tool to produce sharp edges on your object. Typically, Unsharp Masking isn't very effective because the blurred image edge is too wide to sharpen.
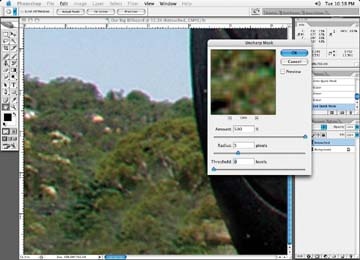
Figure 7-19. No Unsharp Masking

Figure 7-20. Unsharp Masking added to image
I have found that the best option is to painstakingly draw in paths around the various troublesome areas, as I've done in Figure 7-21.
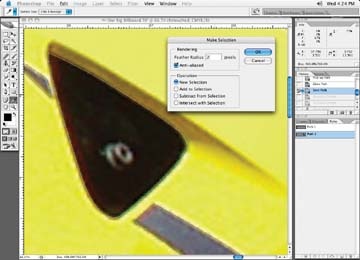
Figure 7-21. Draw masks around the troublesome soft or grainy areas
Once the masks are drawn, adjust the softness of the mask enough that the object gets sharper, but not so it appears as though it is cut out and stuck on the page. Figure 7-22 shows ...
Get Commercial Photoshop Retouching: In the Studio now with the O’Reilly learning platform.
O’Reilly members experience books, live events, courses curated by job role, and more from O’Reilly and nearly 200 top publishers.

