CREATING APPLICATION PREFERENCES
Creating application preferences for your iOS application is a relatively straightforward process. It involves adding a resource called the Settings Bundle to your project, configuring a property list file, and then deploying your application. When your application is deployed, the application preferences are automatically created for you in the Settings application.
The following Try It Out shows how to add application preferences to your iPhone application project in Xcode.
TRY IT OUT: Adding Application Preferences
- Using Xcode, create a new Single View Application (iPhone) project and name it ApplicationSettings. You will also use the project name as the Class Prefix. Ensure that you have unchecked the Use Automatic Reference Counting option.
- Right-click the project name in Xcode and add a new file. Click the Resource template category and select Settings Bundle (see Figure 9-2). Click Next.
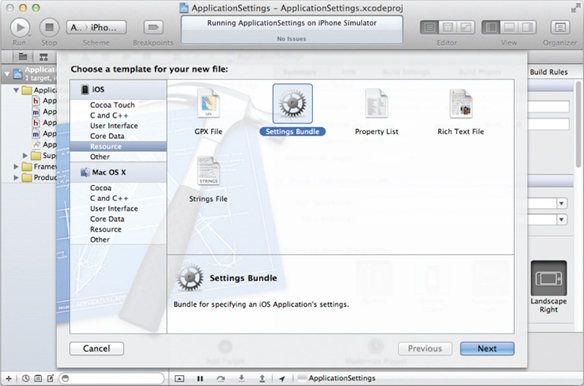
FIGURE 9-2
- When asked to name the file, use the default name of Settings.bundle and click Save.
- The Settings.bundle item should now be part of your project (see Figure 9-3). Expand it and click the Root.plist item to view its content using the default Property List editor (see Figure 9-4).
- Press Command-R to test the application on the iPhone Simulator. When the application is loaded on the Simulator, press the Home key to return to the main screen of the ...
Get Beginning iOS 5 Application Development now with the O’Reilly learning platform.
O’Reilly members experience books, live events, courses curated by job role, and more from O’Reilly and nearly 200 top publishers.

