Editing Wall Joins
There is a separate function in Revit that deals with editing wall joins specifically: the Edit Wall Joins command. It can come in quite handy. To get started, let's add more walls to an already busy corner of the building:
- Zoom into the northeast corner of the building, as shown in Figure 2.48.
- Start the Wall command. Make sure it's the same 6 1/8″ (135mm) two-hour partition you've been using.
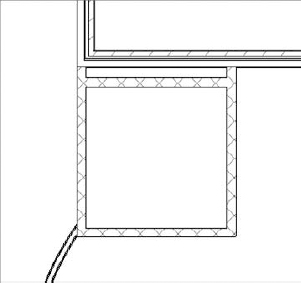
FIGURE 2.48 The northeast corner
- With the Chain button off and Location Line set to Finish Face: Interior, to start the wall, pick the intersection where the CMU wall abuts the finish inside face of the exterior wall (see Figure 2.49 ...
Get Autodesk® Revit® Architecture 2012: No Experience Required now with the O’Reilly learning platform.
O’Reilly members experience books, live events, courses curated by job role, and more from O’Reilly and nearly 200 top publishers.

