Chapter 13. Displays
13.0. Introduction
Although the Raspberry Pi can use a monitor or TV as a display, often it is nice to use a smaller, more specialized display with it. In this chapter, we explore a range of different displays that can be attached to a Raspberry Pi and learn how to use them.
Most of the recipes require the use of a solderless breadboard and male-to-female jumper wires (see Recipe 8.10).
13.1. Using a Four-Digit LED Display
Note
Be sure to check out the accompanying video for this recipe at http://razzpisampler.oreilly.com.
Problem
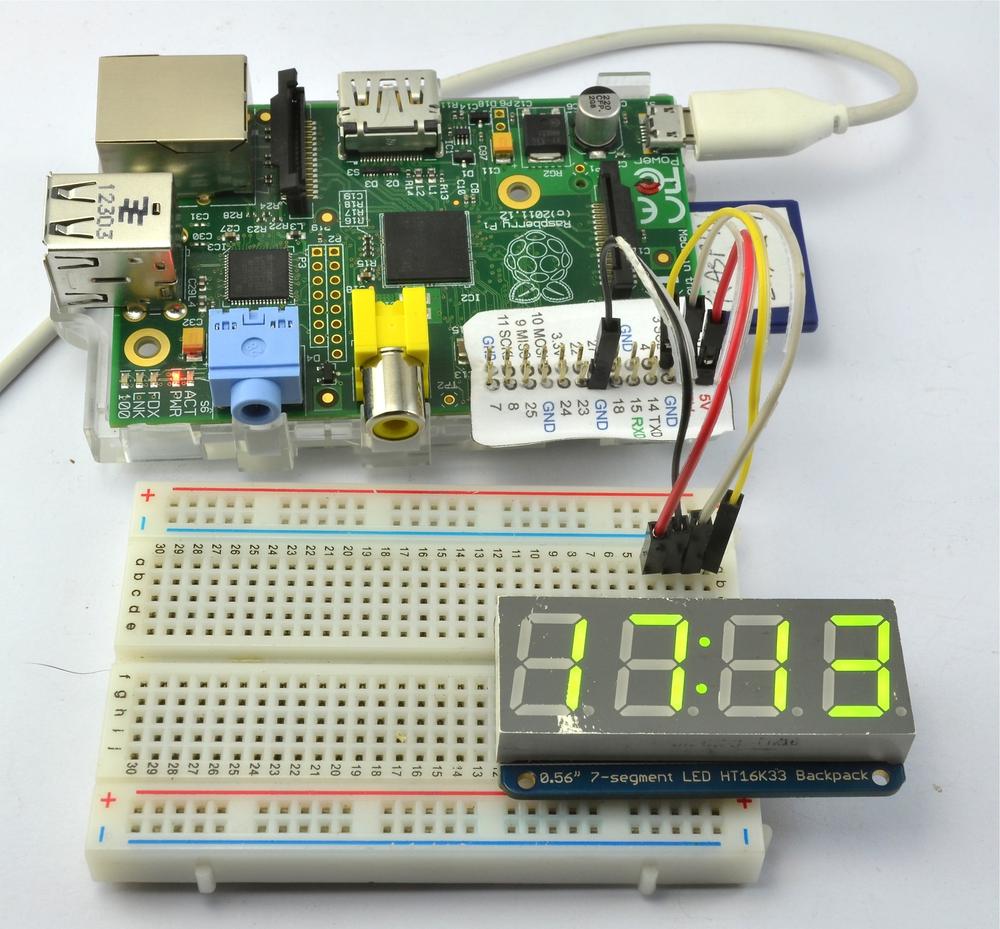
You want to display a four-digit number in an old-fashioned, seven-segment LED display.
Solution
Use an I2C LED module, such as the model shown in Figure 13-1 attached via a breadboard to a Raspberry Pi.
To make this recipe, you need:
- Breadboard and jumper wires (see Prototyping Equipment)
- Adafruit 4 × 7-segment LED with I2C backpack (see Modules)
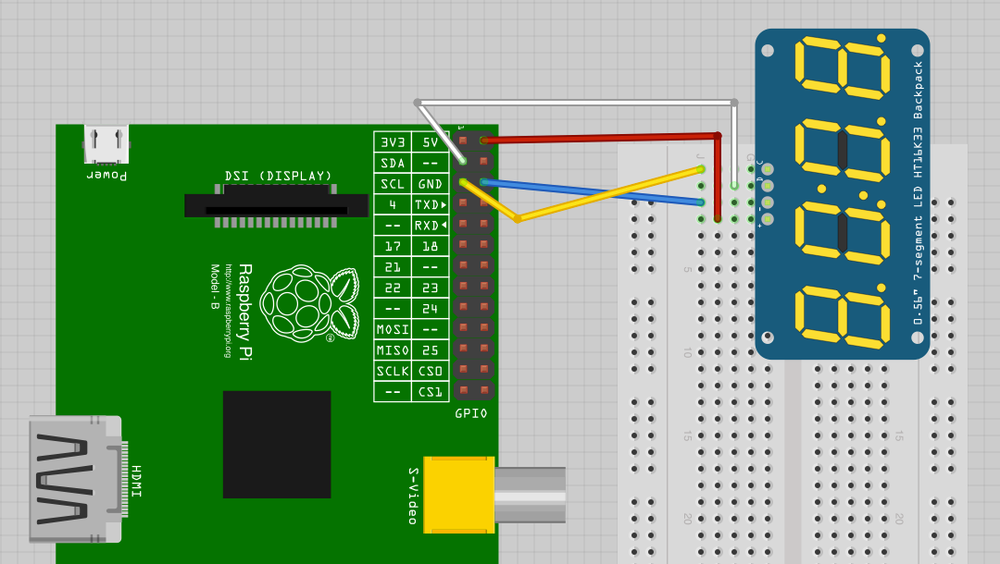
Figure 13-2 shows the arrangement of components on the breadboard.
For this recipe to work, you will also need to set up your Raspberry Pi for I2C, so follow Recipe 8.4 first.
The display has an accompanying Python library written by Adafruit. It isn’t installed as a proper library, ...
Get Raspberry Pi Cookbook now with the O’Reilly learning platform.
O’Reilly members experience books, live events, courses curated by job role, and more from O’Reilly and nearly 200 top publishers.

