Disks In, Disks Out
When you insert a disk, its icon may show up in any of three places (depending on your Finder preferences): on the right side of the desktop (Figure 11-1), in the Computer window, and in the Sidebar (Disk icons on the desktop). To see what’s on a disk you’ve inserted, double-click its icon.
Note
You can make the Mac work like Windows, if you choose. For example, to open a single window containing the icons of all currently inserted disks, choose Go→Computer (which produces the rough equivalent of the Computer window).
To complete the illusion that you’re running Windows, you can even tell Mac OS X not to put disk icons on the desktop at all. Just choose Finder→Preferences, click General, and turn off the four top checkboxes—“Hard disks,” “External disks,” “CDs, DVDs, and iPods,” and “Connected servers.” They’ll no longer appear on the desktop—only in your Computer window. (You can stop them from appearing in the Sidebar, too, by clicking the Sidebar button in the Finder preferences and turning off the same checkboxes.)
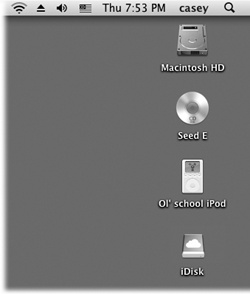
Figure 11-1. If you visit the Finder→Preferences command, you can turn on the checkboxes to make all kinds of disks appear on your desktop (shown here: hard drive, CD, iPod, iDisk). But chances are pretty good you won’t be seeing many floppy disk icons.
To remove a disk from your Mac, use one of these methods:
Hold down the key on your keyboard. Mac keyboards, ...
Get Mac OS X Lion: The Missing Manual now with the O’Reilly learning platform.
O’Reilly members experience books, live events, courses curated by job role, and more from O’Reilly and nearly 200 top publishers.

