For our example, we will be using the default option. As we have no down payments, Odoo will process the sales order as if you had chosen the first option, Invoiceable lines. Click Create Invoices to generate the invoice. Initially, the invoice is created in a Draft state. Clicking Validate will confirm the invoice and post the transaction.
If you have followed along and everything worked as it should, then you will see an invoice similar to the following one:
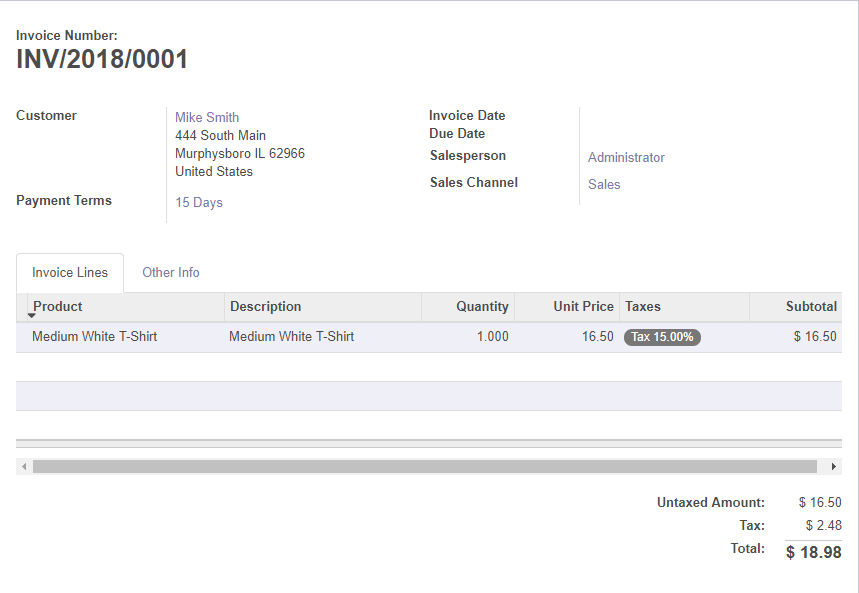
Invoice
At this time, it is worth noting Odoo's use of an interface feature called breadcrumb. These links, which appear on form views just below the topmost menu, ...

