Creating and Editing Tags
In Book IV, Chapter 1, you can find out all about publishing your posts in WordPress and how you can assign different tags to your content. This section takes you through the steps of managing tags, which is similar to the way you manage categories. To create a new tag, follow these steps:
- Click Post Tags in the Posts drop-down list.
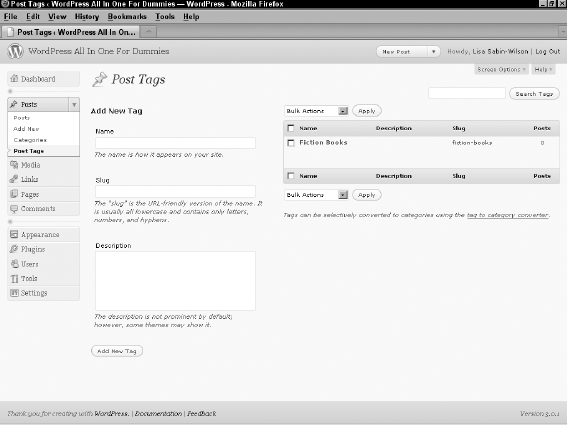
The Post Tags page opens, as shown in Figure 7-6.
 Unlike categories and links, WordPress doesn't create a default tag for you, so when you visit the Post Tags page for the first time, no tags are listed on the right side of the page.
 - The left side of the Post Tags page displays the Add New Tag section (refer to Figure 7-6).
- Type the name of your new tag in the Name text box.
Suppose that you want to create a tag in which you file all your posts about the books you read. In the Name text box, type something like Fictional Books.
Figure 7-6: The Post Tags page in the Dashboard.
- Type a name in the Slug text box.
The slug is the permalink of the tag and can help identify tag archives on your site by giving them their own URL, such as http://yourdomain.com/tag/fictional-books. By default, the tag slug adopts the words from the tag name.
- (Optional) Type a description of the tag in the Description text box.
Some WordPress templates ...
Get WordPress® All-in-One For Dummies® now with the O’Reilly learning platform.
O’Reilly members experience books, live events, courses curated by job role, and more from O’Reilly and nearly 200 top publishers.

