Lesson 11The Basics of Adding Media Files
Up to now, you've learned about entering, editing, styling, and laying out text content. In this lesson, you begin the same process for media files, which primarily means images, but also includes video, audio, and documents.
There are two scenarios for adding new media files to WordPress:
- Uploading and inserting them into the content of a specific Post or Page
- Uploading them to the Media Library for later use
Each of these is demonstrated with images because they're the most common media files you'll use, but the basics apply to other media types as well.
Uploading and Inserting an Image into a Post
Adding images to the content of a Post (or, of course, a Page) is a simple process that begins with deciding where you want the image to appear. Then place your cursor at that point in your text, as shown in Figure 11.1.
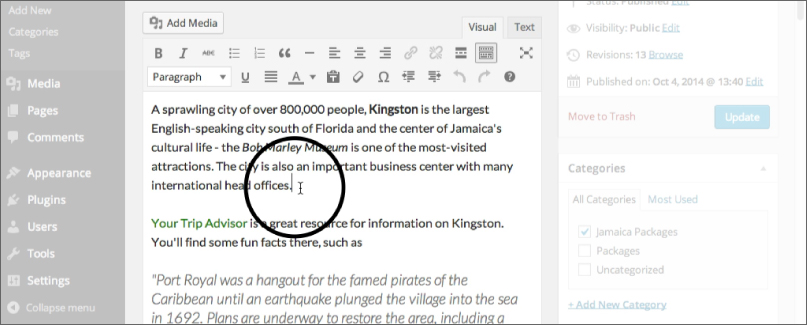
Don't worry if you change your mind about the location after uploading. Moving an image within the Content Editor is a matter of dragging and dropping it to a new spot.
Now you're ready to add the image by using the Add Media button located at the top left of the Content Editor, as shown in Figure 11.2.
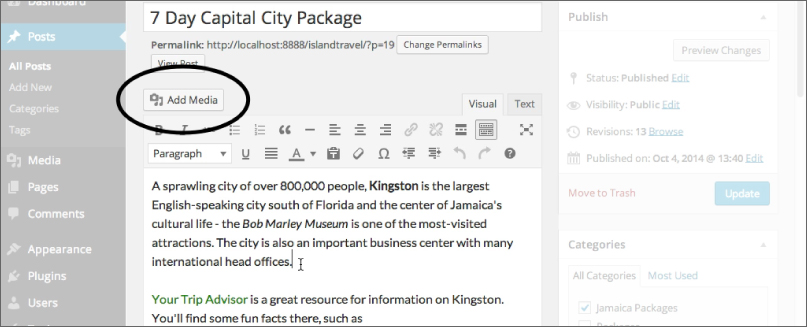
Click the Add Media button to produce a pop-up window known as the Media Uploader, as ...
Get WordPress 24-Hour Trainer, 3rd Edition now with the O’Reilly learning platform.
O’Reilly members experience books, live events, courses curated by job role, and more from O’Reilly and nearly 200 top publishers.

