Name
Insert → Picture → ClipArt
Synopsis
Insert → Picture → ClipArt opens the Insert ClipArt dialog (Figure 7-26). The clip art images that were installed with Office appear on the Pictures tab. The Pictures tab displays up to 51 categories of clip art images, each containing a group of images that can be inserted into a document. To select a category and view its images, click once on the category icon. Once the category’s images are displayed, scroll through the pictures and select to add to the document.
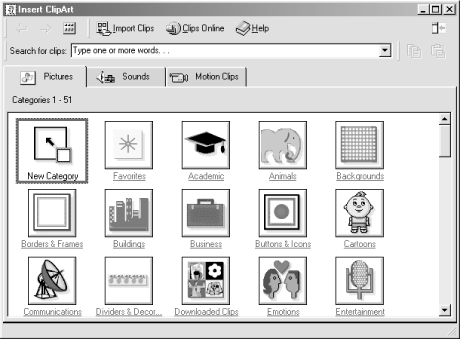
Figure 7-26. Inserting Clip Art
To insert a clip art image, right-click and choose Insert from the context menu (or double-click the image). After the image is inserted, the Insert Picture window remains open, allowing you to insert additional images.
Once clip art images have been inserted, resize them by dragging their handles or move them by clicking and dragging to a new location on the page. To control the way text flows around a clip art image, right-click the picture and choose Format Picture from the context menu. Click the Layout tab (Figure 7-27) and choose the Wrapping style to use. Wrapping styles are detailed in Chapter 8.
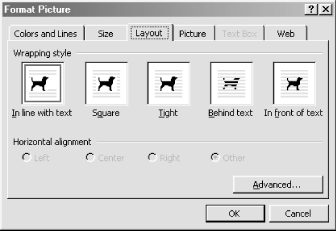
Figure 7-27. Choosing a wrapping style
If you’ve downloaded additional clip art images from the Web or bought them on CD-ROM, add them to the Insert ...
Get Word 2000 in a Nutshell now with the O’Reilly learning platform.
O’Reilly members experience books, live events, courses curated by job role, and more from O’Reilly and nearly 200 top publishers.

