The DNS Manager
Installing DNS adds the DNS Manager application to the Administrative Tools (Common) program group. Select the application from that group to open the window shown in Figure 8-2.
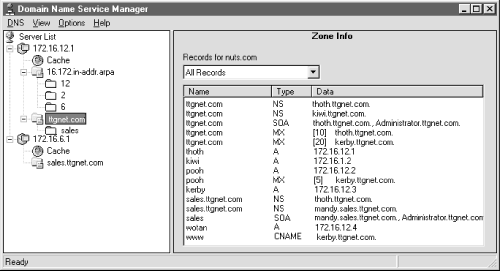
Figure 8-2. The DNS Manager
Figure 8-2 shows the DNS Manager after servers and zones have been added. The first time you run the DNS Manager the Server List may be empty. This is always true if you are creating the first Microsoft DNS server on your network. To add your server to the Server List, highlight Server List and choose New Server from the DNS menu to display the Add DNS Server dialog. Enter the IP address of your server in the DNS Server box of the dialog. Click OK.
Your server is now listed in the Server List. Highlight it. The statistics associated with the server are displayed in the right half of the DNS Manager Window. All of the DNS files installed on the server are listed under the server’s name in the Server List. At first only the cache file is listed. (It is represented by a small globe.)
At this point in the configuration, the server is configured as a caching-only server. If a caching-only server is what you want, you’re finished. If you want to create an authoritative server, you have more to do—you must define a zone for the server.
Get Windows NT TCP/IP Network Administration now with the O’Reilly learning platform.
O’Reilly members experience books, live events, courses curated by job role, and more from O’Reilly and nearly 200 top publishers.

