Creating the map
Regardless of the tool you’re using, and regardless of the type of image map you’re creating, the process for creating the map information is basically the same. Read the documentation for your image map tool to learn about features not listed here.
Open the image in an image map program.
Define areas within the image that should be clickable by using the appropriate shape tools: rectangle, circle, or polygon (for tracing irregular shapes).
While the outline of the area is still highlighted, enter a URL for that area in the text entry field provided, as shown in Figure 12-8.
Continue adding shapes and their respective URLs for each clickable area in the image.
For server-side image maps , you also need to define a default URL, which is the page that displays if users click outside a defined area. Many tools have a prominent field for entering the default URL, but on others, you may need to look for it under a pull-down menu.
Select the type of image map (client- or server-side) you want to create. Note that server-side image maps are strongly discouraged.
Save or export the map information. Server-side image maps are saved in a map definition file (.map) that resides on the server. For client-side image maps, you may need to copy and paste the resulting map code into your HTML file.
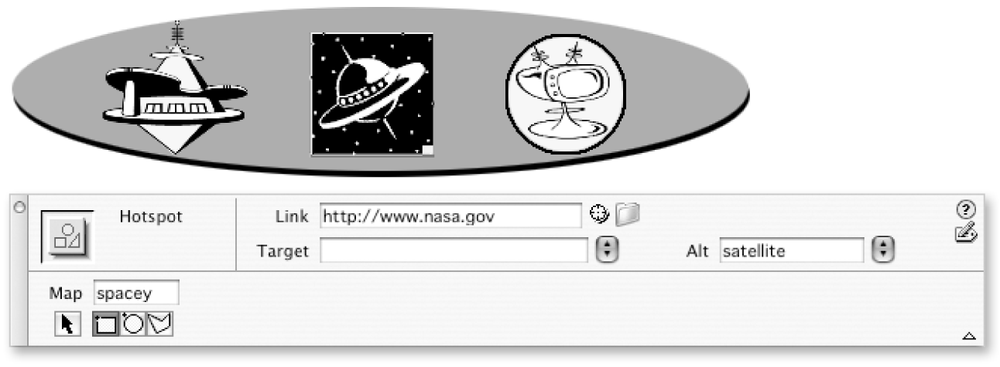
Figure 12-8. Creating map information (shown in Dreamweaver MX)
If you do not have an image ...
Get Web Design in a Nutshell, 3rd Edition now with the O’Reilly learning platform.
O’Reilly members experience books, live events, courses curated by job role, and more from O’Reilly and nearly 200 top publishers.

