Chapter 4. Setting Up a Development Environment for Apache Flink
Now that we have all that knowledge, itâs time to get our hands dirty and start developing Flink applications! In this chapter, you will learn how to set up an environment to develop, run, and debug Flink applications. We will start by discussing the required software and where you can get the code examples of this book. Using these examples, we will show how Flink applications are executed and debugged in an IDE. Finally, we show how to bootstrap a Flink Maven project, the starting point for a new application.
Required Software
First, letâs discuss the software you need to develop Flink applications. You can develop and execute Flink applications on Linux, macOS, and Windows. However, UNIX-based setups enjoy the richest tooling support because this environment is preferred by most Flink developers. We will be assuming a UNIX-based setup in the rest of this chapter. As a Windows user you can use the Windows subsystem for Linux (WSL), Cygwin, or a Linux virtual machine to run Flink in a UNIX environment.
Flinkâs DataStream API is available for Java and Scala. Hence, a Java JDK is required to implement Flink DataStream applicationsâJava JDK 8 (or higher). A Java JRE is not sufficient.
We assume the following software is installed as well, although it is not strictly required to develop Flink applications:
-
Apache Maven 3.x. The code examples of the book use Maven build management. Moreover, Flink provides Maven archetypes to bootstrap new Flink Maven projects.
-
An IDE for Java and/or Scala development. Common choices are IntelliJ IDEA, Eclipse, or Netbeans with the appropriate plugins (such as for Maven, Git, and Scala support). We recommend using IntelliJ IDEA. You can follow the instructions at the IntelliJ IDEA website to download and install it.
Run and Debug Flink Applications in an IDE
Even though Flink is a distributed data processing system, you will typically develop and run initial tests on your local machine. This makes development easier and simplifies cluster deployment, as you can run the exact same code in a cluster environment without making any changes. In the following, we describe how to obtain the code examples we use here, how to import them into IntelliJ, how to run an example application, and how to debug it.
Import the Bookâs Examples in an IDE
The code examples of this book are hosted on GitHub. At the bookâs GitHub page, you will find one repository with Scala examples and one repository with Java examples. We will be using the Scala repository for the setup, but you should be able to follow the same instructions if you prefer Java.
Open a terminal and run the following Git command to clone the examples-scala repository to your local machine:1
> git clone https://github.com/streaming-with-flink/examples-scala
You can also download the source code of the examples as a zip-archive from GitHub:
> wget https://github.com/streaming-with-flink/examples-scala/archive/master.zip
> unzip master.zip
The book examples are provided as a Maven project. You will find the source code in the src/ directory, grouped by chapter:
. âââ main   âââ scala     âââ io       âââ github         âââ streamingwithflink           âââ chapter1           â  âââ AverageSensorReadings.scala           âââ chapter5           â  âââ ...           âââ ...           â  âââ ...           âââ util             âââ ...
Now open your IDE and import the Maven project. The import steps are similar for most IDEs. In the following, we explain this step in detail for IntelliJ.
Navigate to File -> New -> Project from Existing Sources, select the book examples folder examples-scala, and click OK. Make sure that âImport project from external modelâ and âMavenâ are selected and click Next.
A project import wizard will guide you though the next steps, such as selecting the Maven project to import (there should only be one), selecting the SDK, and naming the project. Figures 4-1 to 4-3 illustrate the import process.
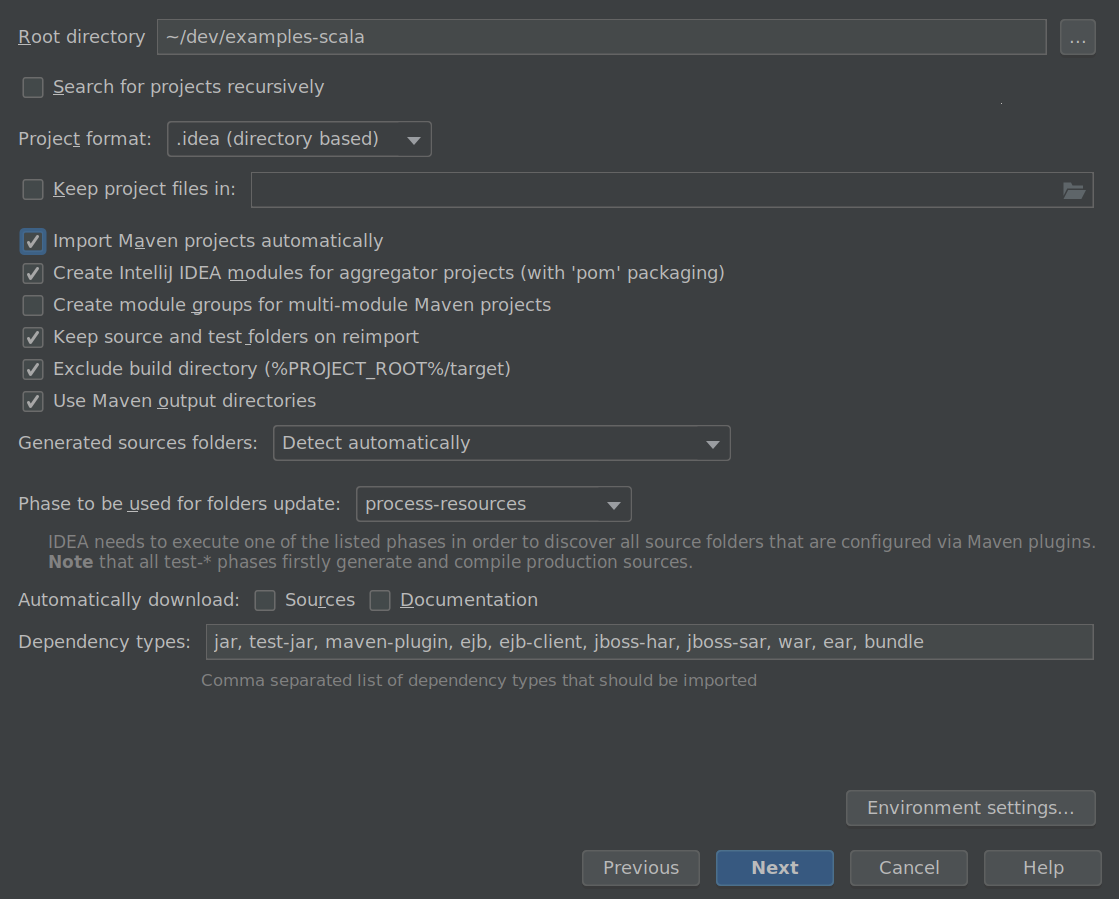
Figure 4-1. Import the book examples repository into IntelliJ
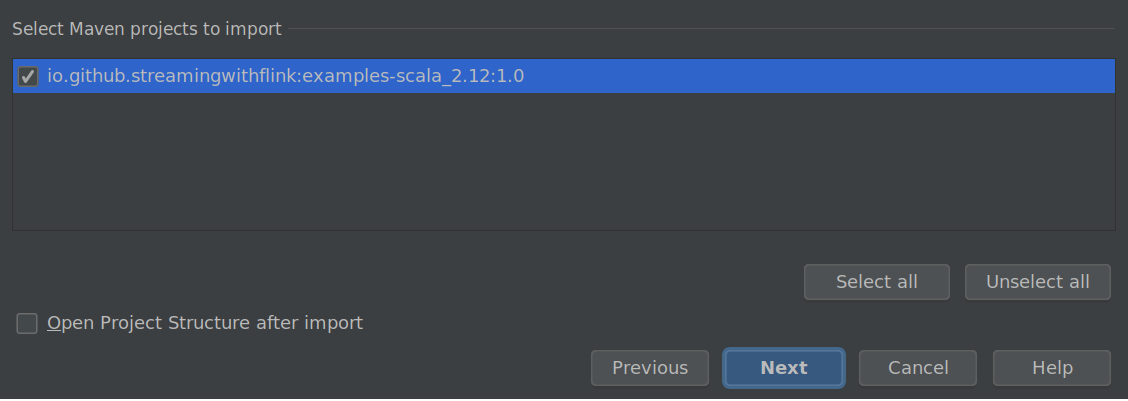
Figure 4-2. Select the Maven project to import
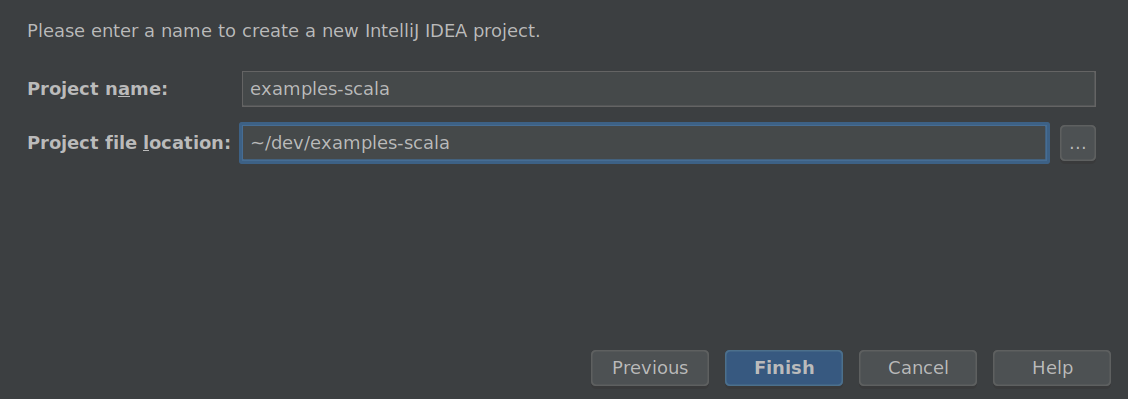
Figure 4-3. Give your project a name and click Finish
Thatâs it! You should now be able to browse and inspect the code of the book examples.
Run Flink Applications in an IDE
Next, letâs run one of the book example applications in your IDE. Search for the AverageSensorReadings class and open it. As discussed in âA Quick Look at Flinkâ, the program generates read events for multiple thermal sensors, converts the temperature of the events from Fahrenheit to Celsius, and computes the average temperature of each sensor every second. The results of the program are emitted to standard output. Just like many DataStream applications, the source, sink, and operators of the program are assembled in the main() method of the AverageSensorReadings class.
To start the application, run the main() method. The output of the program is written to the standard out (or console) window of your IDE. The output starts with a few log statements about the states that parallel operator tasks go through, such as SCHEDULING, DEPLOYING, and RUNNING. Once all tasks are up and running, the program starts to produce its results, which should look similar to the following lines:
2> SensorReading(sensor_31,1515014051000,23.924656183848732)
4> SensorReading(sensor_32,1515014051000,4.118569049862492)
1> SensorReading(sensor_38,1515014051000,14.781835420242471)
3> SensorReading(sensor_34,1515014051000,23.871433252250583)
The program will continue to generate new events, process them, and emit new results every second until you terminate it.
Now letâs quickly discuss what is happening under the hood. As explained in âComponents of a Flink Setupâ, a Flink application is submitted to the JobManager (master), which distributes execution tasks to one or more TaskManagers (workers). Since Flink is a distributed system, the JobManager and TaskManagers typically run as separate JVM processes on different machines. Usually, the programâs main() method assembles the dataflow and submits it to a remote JobManager when the StreamExecutionEnvironment.execute() method is called.
However, there is also a mode in which the call of the execute() method starts a JobManager and a TaskManager (by default with as many slots as available CPU threads) as separate threads within the same JVM. Consequently, the whole Flink application is multithreaded and executed within the same JVM process. This mode is used to execute a Flink program within an IDE.
Debug Flink Applications in an IDE
Due to the single JVM execution mode, it is also possible to debug Flink applications in an IDE almost like any other program in your IDE. You can define breakpoints in the code and debug your application as you would normally do.
However, there are a few things to consider when debugging a Flink application in an IDE:
-
Unless you specify a parallelism, a program is executed by as many threads as the number of CPU threads of your development machine. Hence, you should be aware that you might debug a multithreaded program.
-
In contrast to executing a Flink program by sending it to a remote JobManager, the program is executed in a single JVM. Therefore, certain issues, such as classloading issues, cannot be properly debugged.
-
Although a program is executed in a single JVM, records are serialized for cross-thread communication and possibly state persistance.
Bootstrap a Flink Maven Project
Importing the examples-scala repository into your IDE to experiment with Flink is a good first step. However, you should also know how to create a new Flink project from scratch.
Flink provides Maven archetypes to generate Maven projects for Java or Scala Flink applications. Open a terminal and run the following command to create a Flink Maven Quickstart Scala project as a starting point for your Flink application:
mvn archetype:generate                            \
   -DarchetypeGroupId=org.apache.flink            \
   -DarchetypeArtifactId=flink-quickstart-scala   \
   -DarchetypeVersion=1.7.1                       \
   -DgroupId=org.apache.flink.quickstart          \
   -DartifactId=flink-scala-project               \
   -Dversion=0.1                                  \
   -Dpackage=org.apache.flink.quickstart          \
   -DinteractiveMode=false
This will generate a Maven project for Flink 1.7.1 in a folder called flink-scala-project. You can change the Flink version, group and artifact IDs, version, and generated package by changing the respective parameters of the above mvn command. The generated folder contains a src/ folder and a pom.xml file. The src/ folder has the following structure:
src/ âââ main   âââ resources   â  âââ log4j.properties   âââ scala     âââ org       âââ apache         âââ flink           âââ quickstart             âââ BatchJob.scala             âââ StreamingJob.scala
The project contains two skeleton files, BatchJob.scala and StreamingJob.scala, as a starting point for your own programs. You can also delete them if you do not need them.
You can import the project in your IDE following the steps we described in the previous section or you can execute the following command to build a JAR file:
mvn clean package -Pbuild-jar
If the command completed successfully, you will find a new target folder in your project folder. The folder contains a file flink-scala-project-0.1.jar, which is the JAR file of your Flink application. The generated pom.xml file also contains instructions on how to add new dependencies to your project.
Summary
In this chapter you learned how to set up an environment to develop and debug Flink DataStream applications and how to generate a Maven project using Flinkâs Maven archetype. The obvious next step is to learn how to actually implement a DataStream program.
Chapter 5 will introduce you to the basics of the DataStream API, and Chapters 6, 7, and 8 will introduce everything you need to know about time-based operators, stateful functions, and source and sink connectors.
1 We also provide an examples-Java repository with all the examples implemented in Java.
Get Stream Processing with Apache Flink now with the O’Reilly learning platform.
O’Reilly members experience books, live events, courses curated by job role, and more from O’Reilly and nearly 200 top publishers.

