Figure 4-10: The SMART Tools menu.
Experimenting with SMART Tools
In Chapter 1, I explain the toolbar located on the left side of your interactive whiteboard, the SMART Notebook tools, and the difference between the various SMART tools. The SMART Tools menu (shown in Figure 4-10) gives you access to the tools. Although I explain each tool in more detail later in this book, the interactive whiteboard is so simple to use and in many ways so intuitive that I want you to go ahead and try a few tricks.
Make sure you have access to the Floating Tools toolbar. If you can’t see it, go to the SMART Board menu in the Windows notification area or Mac Dock, and select Show Floating Tools. It should appear on the left side of your screen. Then follow these steps:
1. Using your finger, press the Pen.
2. Start writing on the board with your finger, as shown in Figure 4-11.
3. Pick up the eraser from the tray and wipe it clean.
4. Now pick up one of the pens, and write all over the board.
5. With your finger, tap the eraser, and then draw a large circle around the scribbles.
6. Tap your finger in the middle, and watch everything disappear — like magic.
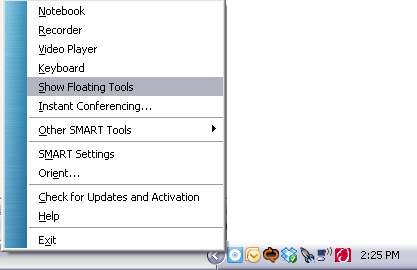
Figure 4-11: Writing on your interactive whiteboard.

If you require more precision than you can get with your finger, pick up one ...
Get SMART Board Interactive Whiteboard For Dummies now with the O’Reilly learning platform.
O’Reilly members experience books, live events, courses curated by job role, and more from O’Reilly and nearly 200 top publishers.

