Step 7 – Postproduction rendering
You are almost done. Remember that you enabled two additional channels—depth and alpha—for the final rendering. These special render channels will allow you to do all sorts of postprocessing wizardry in GIMP, which is the subject of the next chapter.
Depth render
The first image that we will save is a depth render. It represents the z-information of the image, that is, the distance of a point to the camera.
- Switch back to the Channels tab.
- Under Currently visible, set the Channel option to Depth, as shown in the following screenshot:
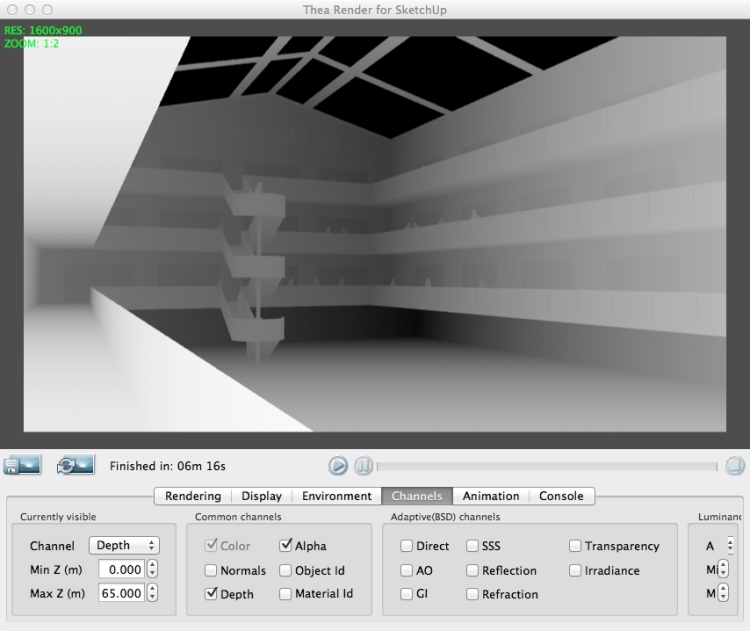
- Adjust the Max Z (m) option until you can just about see the farthest corner of the ...
Get SketchUp 2014 for Architectural Visualization Second Edition now with the O’Reilly learning platform.
O’Reilly members experience books, live events, courses curated by job role, and more from O’Reilly and nearly 200 top publishers.

