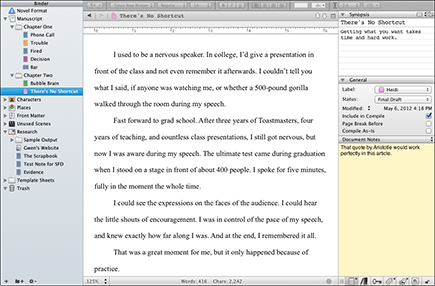
Figure 19-1: Snapshot indicators.
Creating a Snapshot
Snapshots are really meant for saving versions of individual documents, rather than the entire project or many files at the same time (see Chapter 21 for information on backing up your project). That said, you can apply the following steps to more than one document at a time by simply selecting multiple files. To create a snapshot, follow these steps:
1. Select the desired item(s) in the Binder, Corkboard, or Outliner.
2. Choose Documents⇒Snapshots⇒Take Snapshots of Selected Documents.
If a single item is selected in Windows, or if your cursor is in the Editor on the Mac, the submenu option is Take Snapshot.
Alternatively, you can press ⌘+5 (Ctrl+5 for Windows).
If your sound is turned on, you hear what sounds like a camera shutter.
As shown in Figure 19-1, the icon for the selected document now has a folded corner, an indicator that it has one or more associated snapshots. In addition, the Snapshots button in the Inspector panel contains an asterisk to denote content.
Get Scrivener For Dummies now with the O’Reilly learning platform.
O’Reilly members experience books, live events, courses curated by job role, and more from O’Reilly and nearly 200 top publishers.

