Chapter IX. Expanding Dynamic Range in Adobe Camera RAW
Creative options for expanding an image's dynamic range keep on coming. In addition to using Photmatix, Toapz Adjust and Photoshop, you can create HDR images with Adobe Camera RAW (also known as ACR), which is part of Photoshop.
Many professional photographers do most, if not all, of their work (straight work, that is—not HDR work) in ACR, because it is so powerful. It allows you to save some highlights and pull out some detail from the shadows in an image. And that is just the start. The enhancements and adjustments are almost unlimited when you go through all the ACR adjustment tabs and their sub menus. For now, however, we will only work with the Basic tab, the default tab you get when you open an image in ACR.
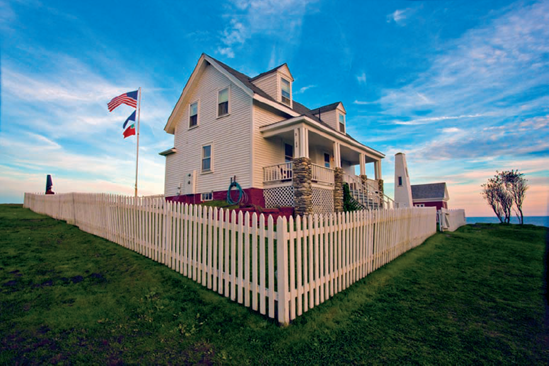
This is a picture I took of the Pemaquid Point Light (which most people call a lighthouse) in Maine during one of my workshops. Although I did take three pictures for a Photomatix image, I expanded the dynamic range of this image using ACR on a single image. Read on.
Exposing for the Highlights
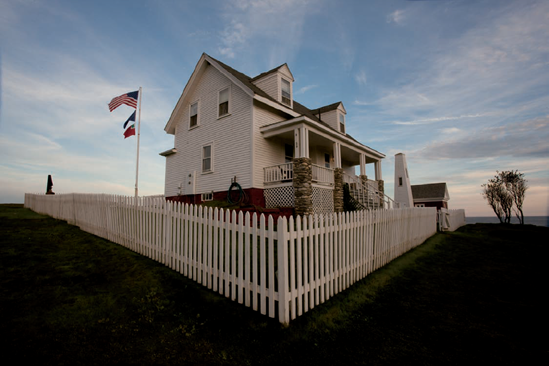
Here is my original image. Although this is not a good exposure, it is the best in-camera exposure I could have taken at the time. The light was not great and I exposed the image for the highlights—in this case, the clouds.
When I shoot ...
Get Rick Sammon's HDR Photography Secrets for digital photographers now with the O’Reilly learning platform.
O’Reilly members experience books, live events, courses curated by job role, and more from O’Reilly and nearly 200 top publishers.

