Texture Modeling
Instead of applying a texture to imply a surface, model the applied texture character into the objects. You can create wood beams; extruded concrete and pavers; rounded roofing tile and house siding; blocks of bricks and masonry; and so on (Fig. 16.3, Fig. 16.4, Fig. 16.5, Fig. 16.6). The texture image itself is used to create the initial object.
Fig. 16.3: Instead of using a roof texture for the individual clay roof tiles, the roofing tile is modeled and placed around the roof.
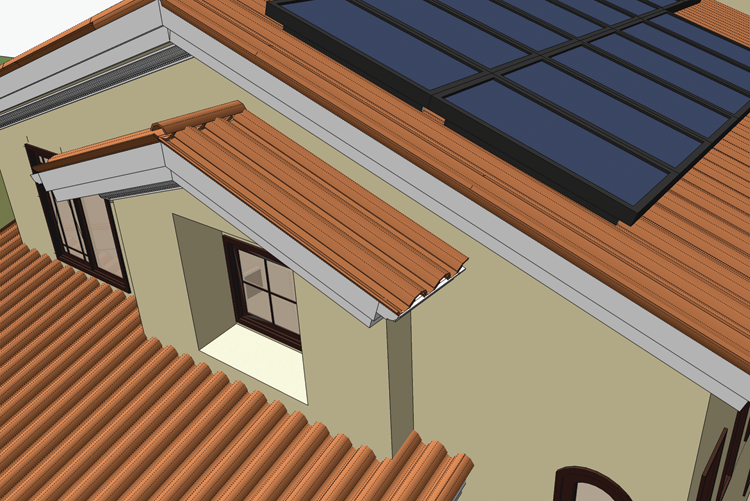
Fig. 16.4: Rendering of the modeled roof tiles (Shaderlight)
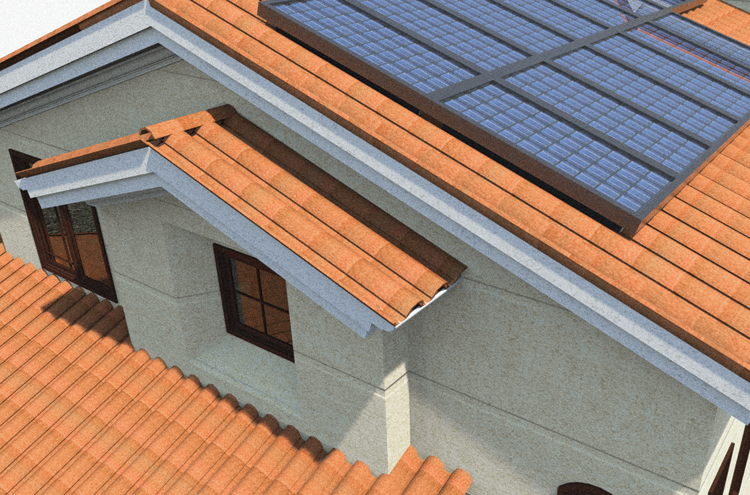
Fig. 16.5: The individual paving tiles are modeled and extruded (model by John Palmer).
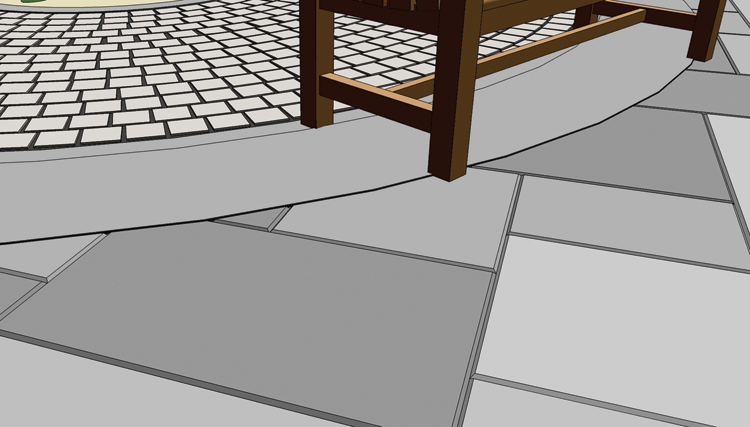
Fig. 16.6: The rendered version of the modeled paving is more realistic than a textured version (Shaderlight).

The following steps illustrate how this technique can be applied. Although it’s specific to wood material, the method is the same for other textures.
Get Rendering in SketchUp: From Modeling to Presentation for Architecture, Landscape Architecture and Interior Design now with the O’Reilly learning platform.
O’Reilly members experience books, live events, courses curated by job role, and more from O’Reilly and nearly 200 top publishers.

