Launching, Editing, and Saving
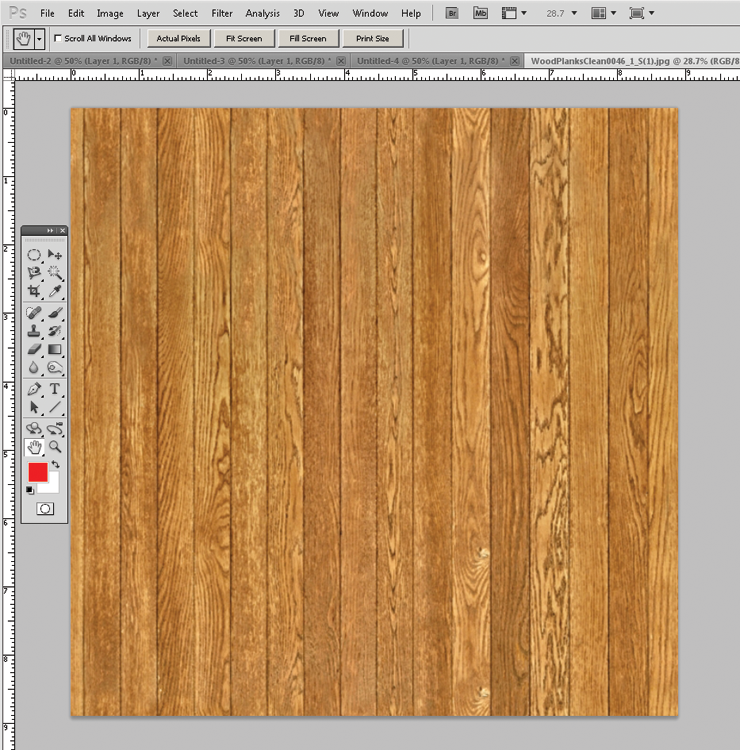
To launch the editor, select a texture in the model using the Eye Dropper (Fig. 10.3). Do not select a solid color; it has no image to edit. In the Edit tab of the Paint Bucket menu under Textures, select the Edit Texture in External Editor button. The photo editor will launch with the selected texture open (Fig, 10.4).
Fig. 10.3: Using the SketchUp Paint Bucket, select the material. Click the Edit Texture button in the external editor.
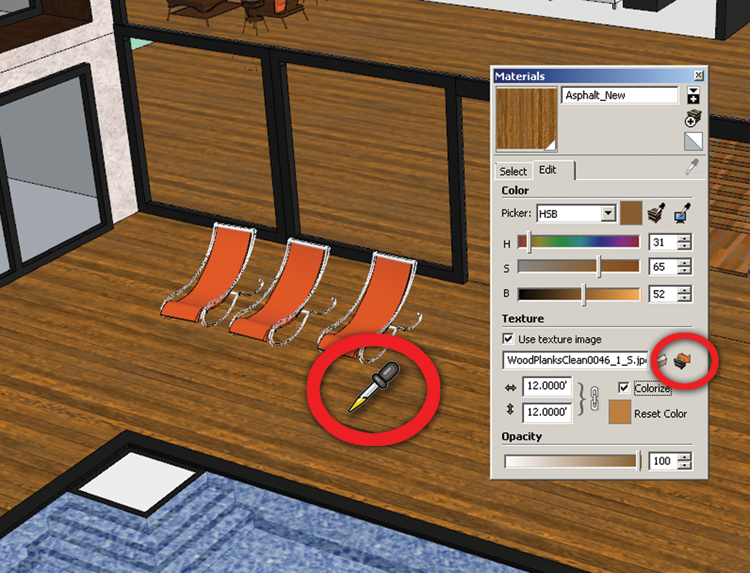
Fig. 10.4: The photo-editing program will automatically launch, displaying the selected texture, which is not yet ready to be edited.
Saving and Updating the Texture
In the editor, make any needed alterations (Fig. 10.5). Then save the file (File ⇒ Save) or close the Texture window and save upon closing. Overwrite the file if asked (Fig. 10.6). Return to SketchUp. The material will be updated automatically with the alterations (Fig. 10.7).
Fig. 10.5: The wood texture is adjusted in Photoshop. By adjusting the Levels, you can make the texture appear light.
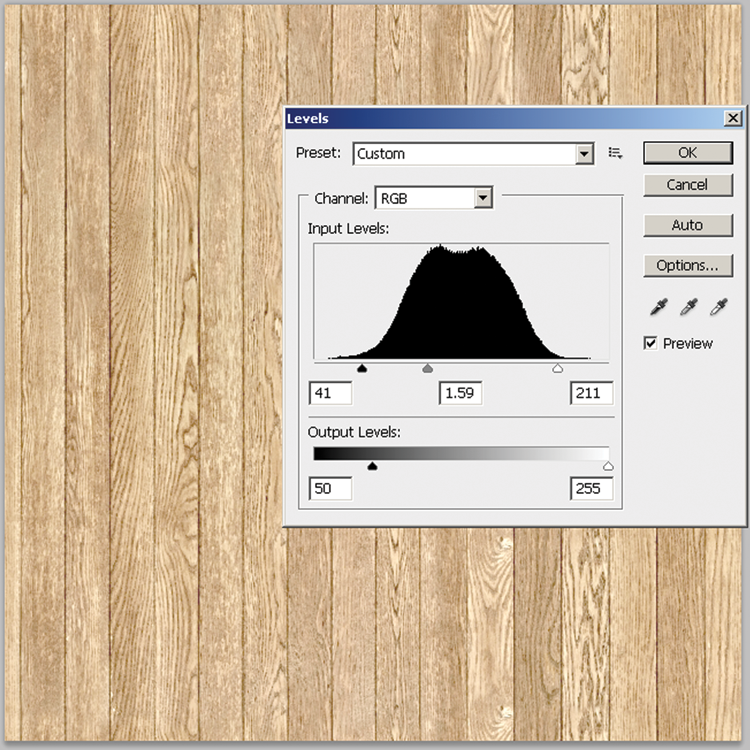
Fig. 10.6: Once the edits are completed, save the file.
Fig. 10.7: When you return to SketchUp, the texture is automatically updated to reflect the edits. ...
Get Rendering in SketchUp: From Modeling to Presentation for Architecture, Landscape Architecture and Interior Design now with the O’Reilly learning platform.
O’Reilly members experience books, live events, courses curated by job role, and more from O’Reilly and nearly 200 top publishers.

