IRP Render Processing
From the moment you press the Render button to the moment the render itself is complete, the IRP goes through several stages to produce an image. The speed of these stages is determined by the computer’s hardware. The following discussion describes the stages. How computer hardware affects those stages is described in the next section.
These stages are not strictly definable. Each IRP renders in a different way and, depending on the setting, stages 2 and 3 can occur simultaneously or consecutively.
Stage 1: Uploading the Model
Before you can begin to work on a rendering, the SketchUp model must first be uploaded to the IRP render engine. Render engine refers to the portion of the software that runs the complex calculations used to create and display the rendering.
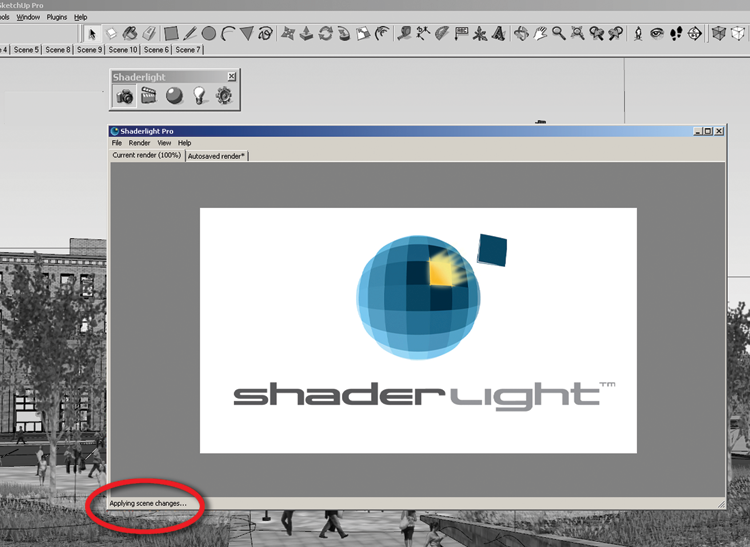
Once you click the Render button, a new window or menu will appear, indicating the progress of the model upload. Each IRP displays that progress differently, but it is usually displayed as a numeric value or a progress bar. There is no preview image at this stage. The larger and more detailed the model is, the longer the upload time will be. Small models can be processed in seconds, and larger models can take several minutes or longer (Fig 4.1).
Fig. 4.1: The bottom-left corner of the Shaderlight preview screen indicates rendering progress.

Stage 2: Ray Tracing
Ray tracing refers to the action ...
Get Rendering in SketchUp: From Modeling to Presentation for Architecture, Landscape Architecture and Interior Design now with the O’Reilly learning platform.
O’Reilly members experience books, live events, courses curated by job role, and more from O’Reilly and nearly 200 top publishers.

