Chapter 4
Power Up and Get Started
It’s exciting starting your Pi for the first time, but you have to do some extra work before you can start using it. Don’t worry — it’s not hard, and you only have to do it once.
Power Up Your Pi
If you followed all the steps in Chapter 3, you’re ready to power up your Pi. (If not, go there now.)
Plug the adaptor into a power socket.
If the socket/four-way/power strip has switches, make sure they’re on.
Life! Action! Things should happen on the screen. If you set up NOOBS correctly, you should see something like Figure 4-1, with a list of options.
 Figures 4-1 and 4-2 are fuzzier than usual because they’re actual photos of a screen, taken with a camera — an iPhone 6, if you really want to know. There’s no easy way to take the usual computer screen shots of NOOBS.
When you see the screen, use the mouse — you did remember to plug it in, right? — to click the two top checkboxes.
You want the ones that say Raspbian [RECOMMENDED] and Data Partition.
- Click the Install button at the top left or press i on your keyboard.
Click Yes when the Pi asks whether you want to overwrite the memory card OMG blah blah techno-blah.
(It’s fine to overwrite the card. Really.)
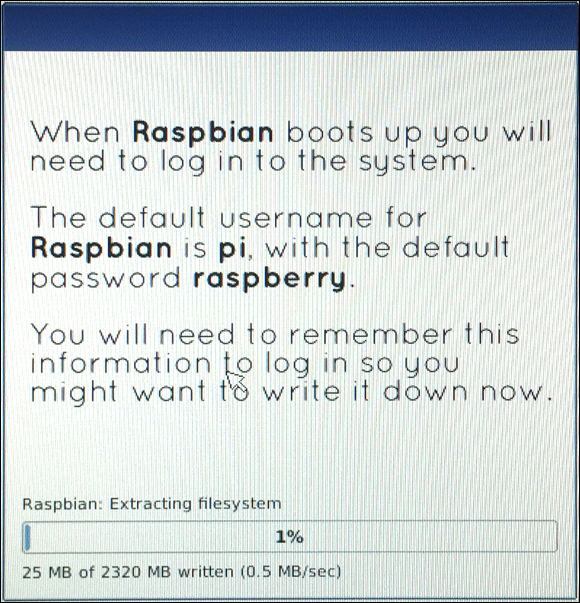
You see the screen in Figure 4-2. The Pi starts installing Raspbian. If you have nothing ...
Get Raspberry Pi For Kids For Dummies now with the O’Reilly learning platform.
O’Reilly members experience books, live events, courses curated by job role, and more from O’Reilly and nearly 200 top publishers.

