Figure 10-7: The Print Register dialog box.
Printing a Checking Register
You can print a Checking register, or a register for any other account, too. Follow these steps to print a register:
1. Open the account register you want to print.
Choose Banking⇒Use Register or click the Check Register icon on the Home screen and then click the Print icon. If you have more than one bank account, choose the account register you want to print from the drop-down list and then click OK.
2. Choose File⇒Print Register. Or click the Print button at the top of the register.
You see the Print Register dialog box, as shown in Figure 10-7. This option is available whenever you have a register open for an account.
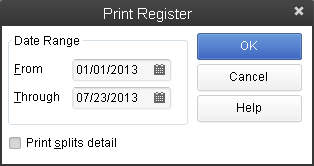
3. Fill in the Date Range fields.
To print a register of something other than the current year-to-date transactions, use the From and Through fields. This step is pretty darn obvious, isn’t it? You just move the cursor to the From and Through text boxes and type the range of months that the register should include.
4. (Optional) Select the Print Splits Detail check box.
As you know, a register doesn’t show all the messy details, such as the Items and Expenses tab information, but you can select this check box to include all this stuff on your printed register.
5. Click OK.
You see the Print Lists dialog box, as shown in Figure 10-8.
Figure 10-8: The Print Lists dialog box. ...
Get QuickBooks 2013 For Dummies now with the O’Reilly learning platform.
O’Reilly members experience books, live events, courses curated by job role, and more from O’Reilly and nearly 200 top publishers.

