This is the Title of the Book, eMatter Edition
Copyright © 2007 O’Reilly & Associates, Inc. All rights reserved.
Adding Audio and Video to the Chat Room
|
73
6. Save your Flash document. In order to see the chat elements working properly,
choose File
➝ Publish Preview ➝ Default - (HTML). Leave the web browser’s
window open, and go back to the Flash authoring environment. There, choose
Control
➝ Test Movie to open another version of the Flash movie. When the
movie loads, enter your name in the username field of the SimpleConnect com-
ponent and click the Login button. Your name should display in the PeopleList
component, both in the Test Movie environment and the web browser window.
Now, log in with another username in the Flash movie running from the browser
window. Again, you should see the new name populate both movies’ PeopleList
instance. In each movie, choose a unique color from the UserColor component.
Finally, enter a message in the chat message window, and click the Send button.
You should see the message appear in the history area of both Chat instances.
The color of the message text should be the same color selected in the sender’s
UserColor combo box.
Adding Audio and Video to the Chat Room
To add audio/video streaming capabilities to the chat room, you can add the Audio-
Conference, AVPresence, or VideoConference component to the Flash document
you created in the last section. In the following steps, you will add two instances of
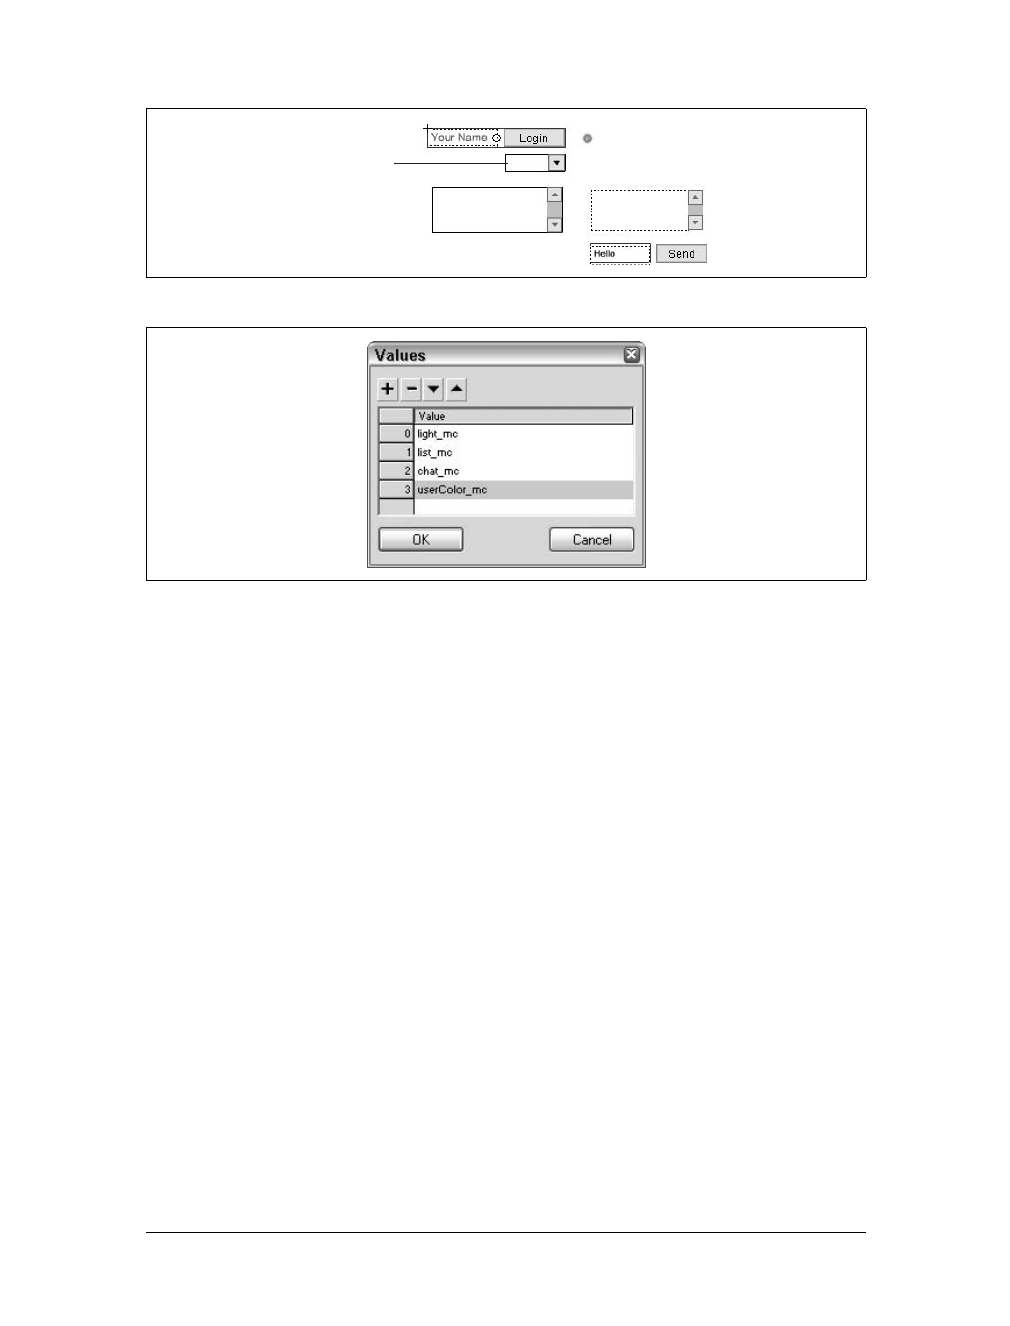
Figure 2-22. The userColor_mc instance
Figure 2-23. The updated Values list for the Communication Components parameter of the
SimpleConnect component
UseColor instance

This is the Title of the Book, eMatter Edition
Copyright © 2007 O’Reilly & Associates, Inc. All rights reserved.
74
|
Chapter 2: Communication Components
the AVPresence component and an instance of the SetBandwidth component to the
movie:
1. Open the component_chat.fla from the last section. Resave this document as
component_avchat.fla.
2. Create two new layers, named av_1_mc and av_2_mc.
3. On frame 1 of the av_1_mc layer, drag an instance of the AVPresence compo-
nent from the Components panel to the Stage. Place the instance to the right of
the ConnectionLight instance and above the Chat instance. In the Properties
panel, name this instance
av_1_mc.
4. Repeat the previous step for another instance of the AVPresence component.
Place the new instance on frame 1 of the av_2_mc layer, positioned to the right
of the
av_1_mc instance. Name the new instance av_2_mc.
5. Create a new layer named bandwidth_mc. On frame 1 of this layer, drag an
instance of the SetBandwidth component to the Stage. Place the instance below
the
userColor_mc instance. Name the new instance bandwidth_mc using the Prop-
erties panel. Your Stage should now resemble Figure 2-24.
6. Select the
connect_mc instance on the Stage, and double-click its Communica-
tion Components parameter in the Parameters tab of the Properties panel. In the
Values list, add the instance names of the three additional communication com-
ponents—
av_1_mc, av_2_mc, bandwidth_mc—as shown in Figure 2-25.
7. Save your document, and test the movie with both the Publish Preview and Test
Movie commands. If you have a web cam and microphone connected to your
computer, start streaming audio/video from one Flash movie’s AVPresence
instance. You should then see the same audio/video stream displayed in the
Figure 2-24. The new communication components added to the movie’s Stage
SetBandwidth instance AVPresence instances
Get Programming Flash Communication Server now with the O’Reilly learning platform.
O’Reilly members experience books, live events, courses curated by job role, and more from O’Reilly and nearly 200 top publishers.

