7.10. The SQL Server Diagramming Tools
You can open up SQL Server's built-in tools by navigating to the Diagrams node of the database you want to build a diagram for (expand your server first, then the database). Some of what you are going to see you'll find familiar — some of the dialogs are the same as you saw in Chapter 4 when you were creating tables. The SQL Server diagramming tools don't give you all that many options, so you'll find that you'll get to know them fairly quickly.
You can start by creating your first diagram. You can create your new diagram by right-clicking the Diagrams node underneath the AdventureWorks database and choosing the New Database Diagram option.
As you saw back in Chapter 4, you may (if it's the first time you've tried to create a diagram) see a dialog come up warning you that some of the objects needed to support diagramming aren't in the database and asking if you want to create them — choose yes.
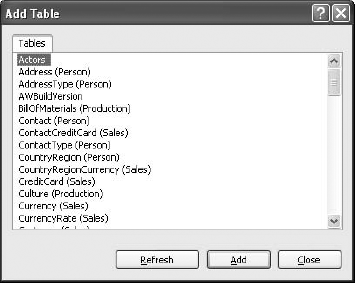
SQL Server starts you out with the same Add Table dialog (see Figure 7-13) you saw back in Chapter 4 — the only thing different are the tables listed.
Figure 7.13. Figure 7-13
Select the following tables (remember to hold down the control key to select more than one table):
Address
Customer
CustomerAddress
SalesOrderHeader
SalesOrderDetail
Then click Add. After a brief pause while SQL Server draws all the tables you selected, click the Close button. SQL ...
Get Professional SQL Server™ 2005 Programming now with the O’Reilly learning platform.
O’Reilly members experience books, live events, courses curated by job role, and more from O’Reilly and nearly 200 top publishers.

