17.3. Installing the SharePoint Designer Add-In Project Templates
If you haven't already done so, download the Project templates from the CodePlex web site. Extract the zip file to any directory. Double-click the extracted file, VSTOSPD2007AddInTemplates.vsi, to open the Visual Studio Content Installer dialog (see Figure 17-1). Choose to install the add-in Projects for Visual Basic.NET, C#, or both.
Figure 17-1. Figure 17-1
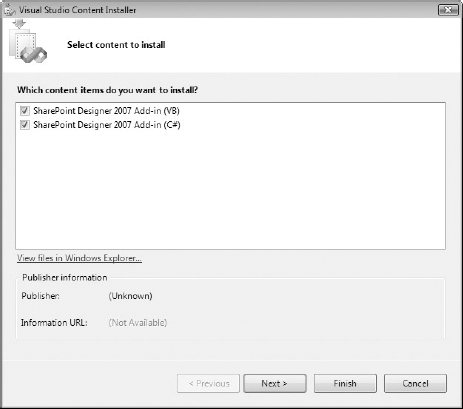
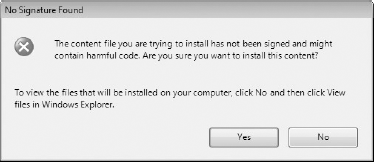
After selecting the add-in Projects you want to install, click Next. If you get the dialog shown in Figure 17-2, click Yes. Afterward, click Finish to start the process of importing the templates.
Figure 17-2. Figure 17-2
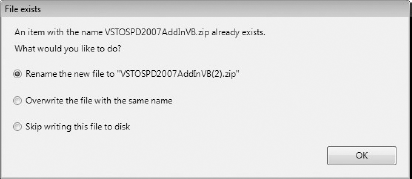
If you are reimporting the templates, you get the File exists dialog (see Figure 17-3). Select the option Overwrite the file with the same name, and click OK. The dialog serves as a warning because it will be overwriting the previously imported templates. Be aware that the dialog appears each time it needs to overwrite a file.
Figure 17-3. Figure 17-3
The installer shows the results of the installation (see Figure 17-4). Click Close to exit the Visual Studio Content Installer.
Figure 17-4. Figure 17-4
With the Project templates installed, ...
Get Professional Microsoft® SharePoint® Designer 2007 now with the O’Reilly learning platform.
O’Reilly members experience books, live events, courses curated by job role, and more from O’Reilly and nearly 200 top publishers.

