Keyframing Effects
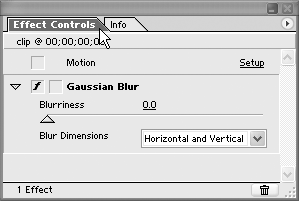
After you activate the keyframing process, keyframing involves nothing more than repeating the same two steps: setting the current frame of the clip and then setting the effect’s property values for that frame. (Remember: Set values only for the “key” frames; let Premiere figure out the in-betweens.) The specific steps are outlined in the following tasks.
To prepare to animate an effect:
1. | In the Timeline window, expand the track containing the clip with the effect you want to animate by clicking the triangle next to the track’s name (Figure 11.39).
Figure 11.39. Make sure to select the clip and expand its track.
|
Get Premiere 6.5 for Windows and Macintosh: Visual QuickStart Guide now with the O’Reilly learning platform.
O’Reilly members experience books, live events, courses curated by job role, and more from O’Reilly and nearly 200 top publishers.


