Printing from the Organizer (Windows)
Elements also lets you print from the Organizer if you're using Windows. The Organizer gives you many more output options than the Editor, including printing several photos on one page. You can create contact sheets of thumbnails, picture packages (like you'd order from a professional photographer), and labels. You can also easily add all kinds of fancy borders to your photos in the Organizer.
The Print Selected Photos dialog box is the Organizer's print control center. Press Ctrl+P or click Print shortcut â Print to bring it up (see Figure 14-5).
Print Selected Photos has a strip down the left side of the window that displays the thumbnails of the photos you've selected for printing. You can add or remove photos here by using the buttons at the bottom of the page. Click Add to bring up a window where you can search for additional photos, or highlight a photo's thumbnail and click the Trash icon to remove it.
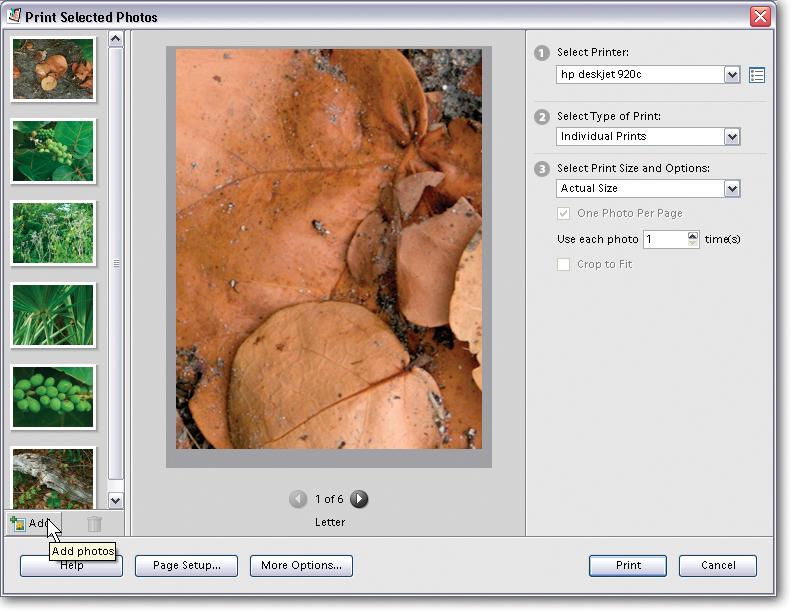
Figure 14-5. The strip on the left side of the window holds thumbnails for all the photos you plan to print. If you're creating a picture package or a contact sheet, you can add or remove images by using the buttons at the bottom of the window.
There's a preview window in the center of the dialog box, and the right side of the dialog box gives you a few easy-to-understand options to choose from:
Select Printer.Choose the printer you want ...
Get Photoshop Elements 3: The Missing Manual now with the O’Reilly learning platform.
O’Reilly members experience books, live events, courses curated by job role, and more from O’Reilly and nearly 200 top publishers.

